Running into Error code 0x8007007f when trying to upgrade to Windows 11 with Windows 11 Installation Assistant? If so, you’ve landed on the right page. Although it’s quite annoying, you should be able to fix this issue easily after reading this article!
What is Error Code 0x8007007f
According to many Windows 10 users, the Error code 0x8007007f would appear while they’re using the Windows 11 Installation Assistant tool to manually upgrade to Windows 11.
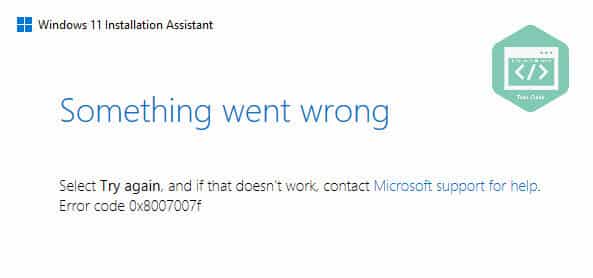
During the upgrading process, the Windows 11 Installation Assistant app would through out a message, which reads: “Something went wrong. Select Try again, and if that doesn’t work, contact Microsoft support for help. Error code 0x8007007f”.
This error code seems to appear exclusively among the users who were trying to use the Windows 11 Installation Assistant.
Possible causes of the Error code 0x800700f
At the time of writing, Microsoft has not revealed the exact cause of the Error code 0x8007007f appeared in the Windows 11 Installation Assistant. It’s believed that insufficient administrator permission, corrupted system files or outdated drivers are the possible causes of this error.
How to fix Windows 11 Update Error Code 0x8007007f
If this issue persists after you selected Try again, here are more fixes for you to try. You may not have to try them all; just work your way down through the list until you find the one that works for you.
- Run Windows 11 Installation Assistant as administrator
- Disable third-party antivirus
- Update your graphics driver
- Perform SFC scan
- Upgrade to Windows 11 with the ISO file from Microsoft
Run Windows 11 Installation Assistant as administrator
Before trying any other fixes, running Windows 11 Installation Assistant as administrator first. To do so:
- Right-click on the file Windows11InstallationAssistant.exe and select Run as administrator.

- Select Yes in the UAC prompt to allow Windows 11 Installation Assistant to run with Administrator privilege.

- Follow the on-screen instructions to start installing Windows Windows 11.
See if this issue persists. If this fix doesn’t work, try the next one, below.
Disable third-party antivirus
The built-in Windows Defender is good enough to protect your computer. If you have any third-party antivirus installed on your PC, it’s best to disable or uninstall the third-party antivirus software before you launch the Windows 11 Installation Assistant, as many third-party antivirus may interfere with the installation assistant.
To uninstall your antivirus software, follow the steps below:
- Close the antivirus software if it’s running on your PC.
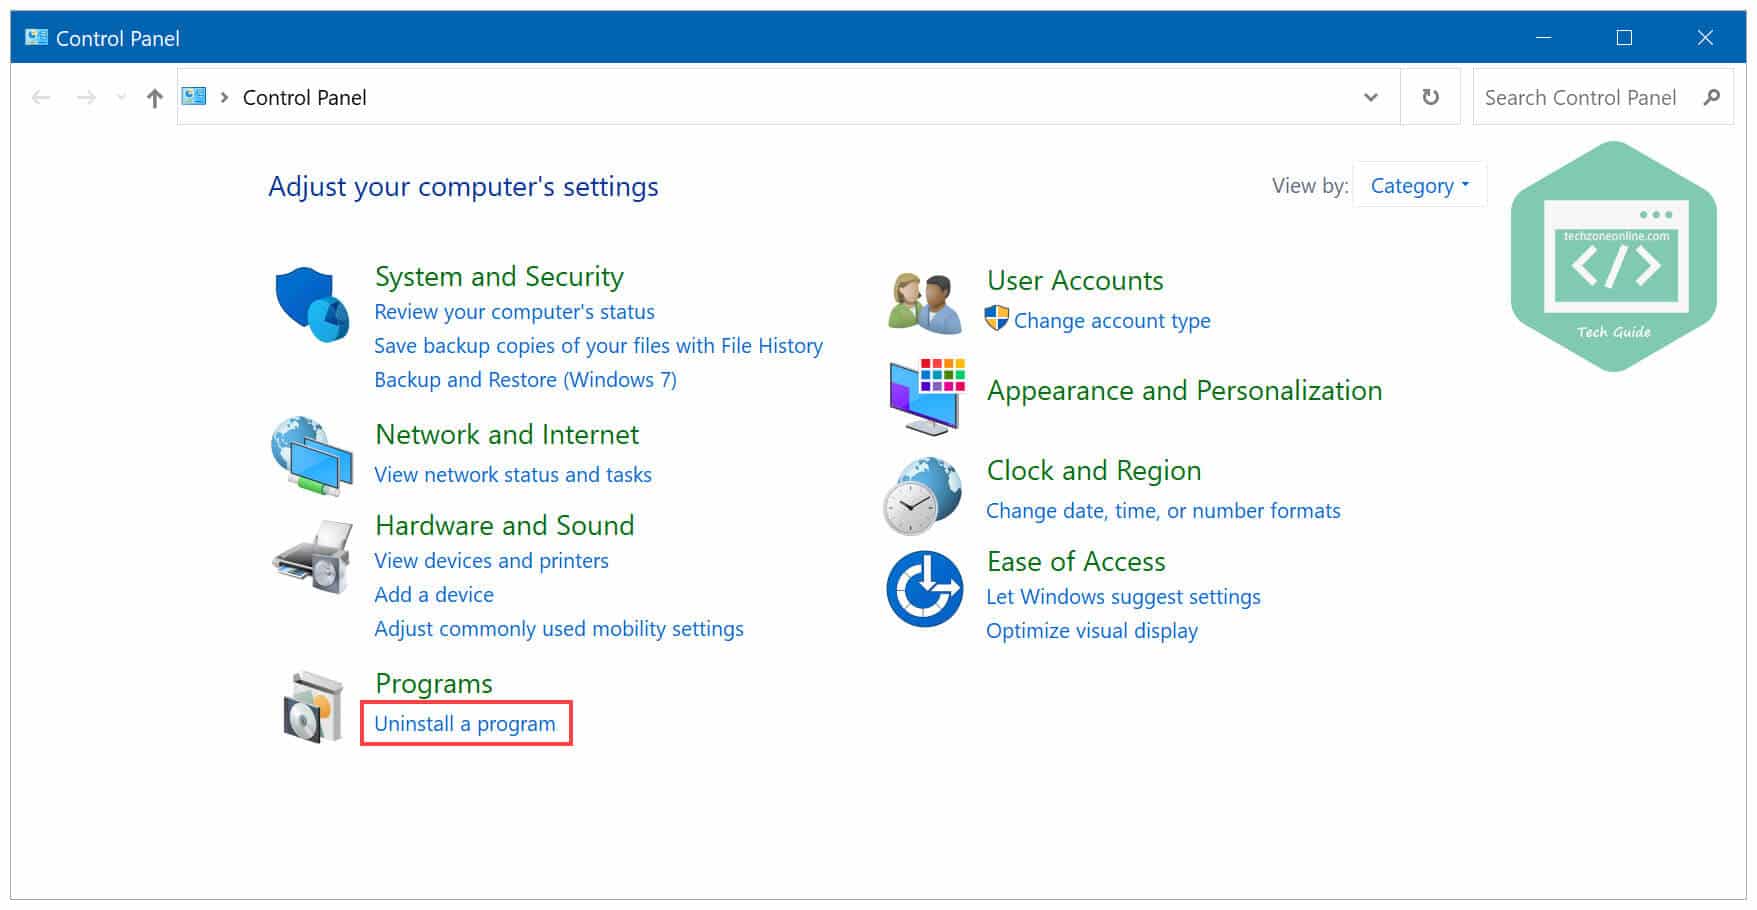
- On your keyboard, press the Windows logo key and R at the same time to invoke the Run dialog, then type control and press Enter to open Control Panel.

- On the Control Panel window, select Uninstall a program under the Programs section. It will open the Programs and Features window.
- Find your third-party antivirus software among the program list. Right-click on it and click Uninstall/Change. Then follow the on-screen instructions to uninstall it.

Launch Windows 11 Installation Assistant and see if this issue reappears. If you still running into this error, try the next fix, below.
Update your graphics driver
Many Windows 10 users reported that outdated or incompatible graphics driver was the root cause of this issue. Graphics card manufacturers like Nvidia, AMD and Intel have already released their Windows 11-compatible graphics drivers before Windows 11 was officially rolled out.
If you haven’t updated your graphics card driver for a long time, you should update your graphics driver.
To update graphics driver on your computer, go to your graphics card manufacturer site:
Note: remember to download the correct graphics driver corresponding to your graphics model and your Windows OS.
Once you downloaded the graphics driver on your computer, double-click on the driver file to install the graphics driver update.
Launch the Assistant and see if this error persists after you updated your graphics driver. If you still see the error message, try the next fix, below.
Perform SFC scan
This issue may occur when there are some important system files corrupted. If you are not sure whether there is any system file corruption or not, you just need to run System File Checker (SFC). By Running SFC, you can fix any system file corruption from the the resident component store.
To run SFC, follow the steps below:
- On your keyboard, press the Windows logo key and R at the same time. Type
cmdand press Shift, Ctrl and Enter at the same time to invoke an elevated CMD. - In the CMD window, execute the following command:
sfc /scannow
Note: this command doesn’t require Internet access.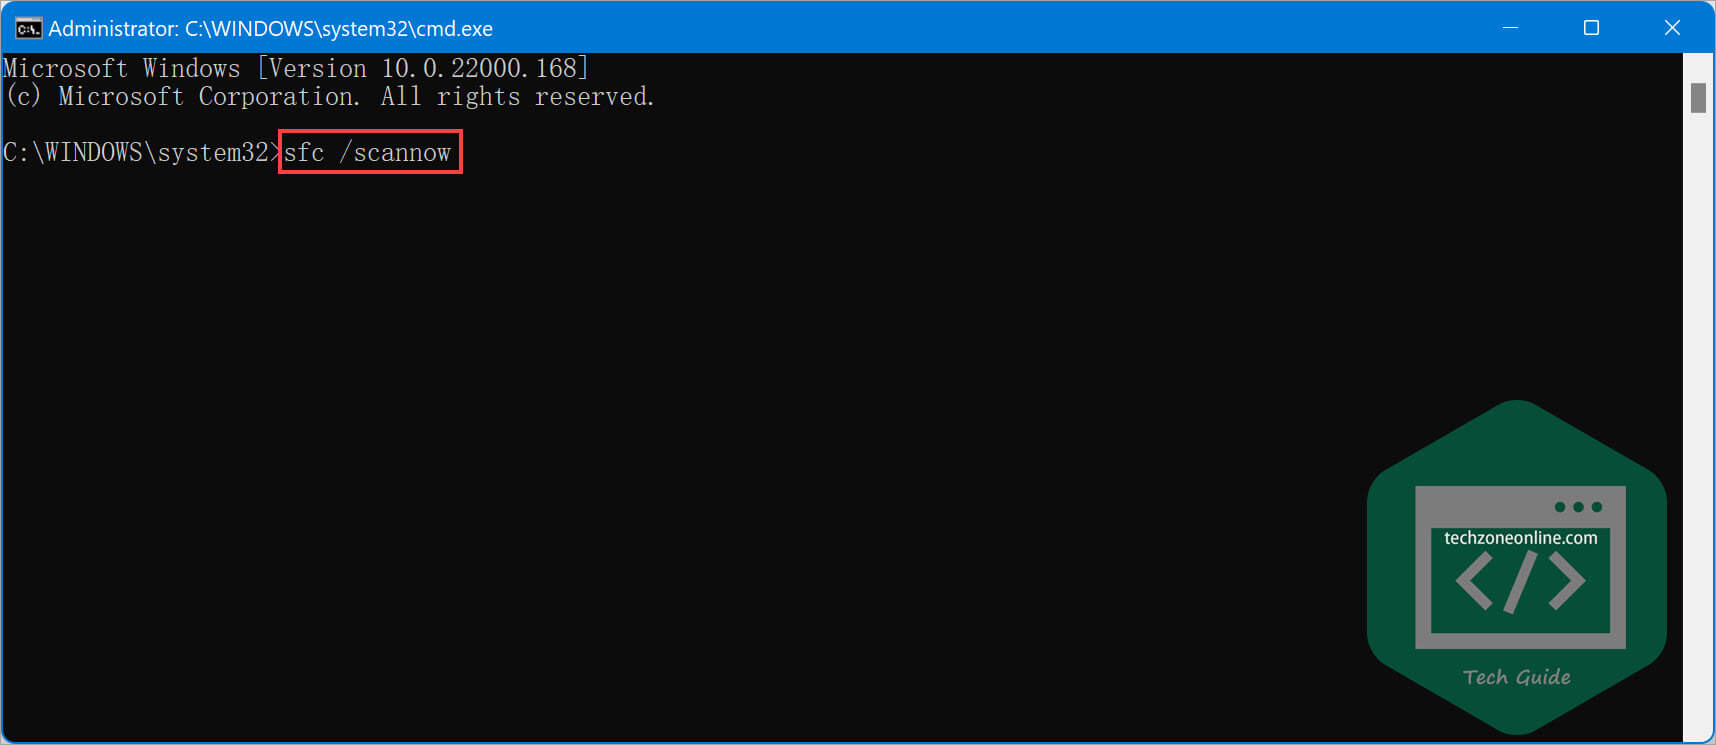
Check if the Windows search issues persists after the SFC command is executed.
If this doesn’t help, you may need to use DISM command tool to repair the Windows Component Store itself. To do so, just follow the steps below:
- In an elevated CMD, execute the following commands one by one (note: this command require Internet access):
DISM /Online /Cleanup-Image /CheckHealthDISM /Online /Cleanup-Image /ScanHealthDISM /Online /Cleanup-Image /RestoreHealth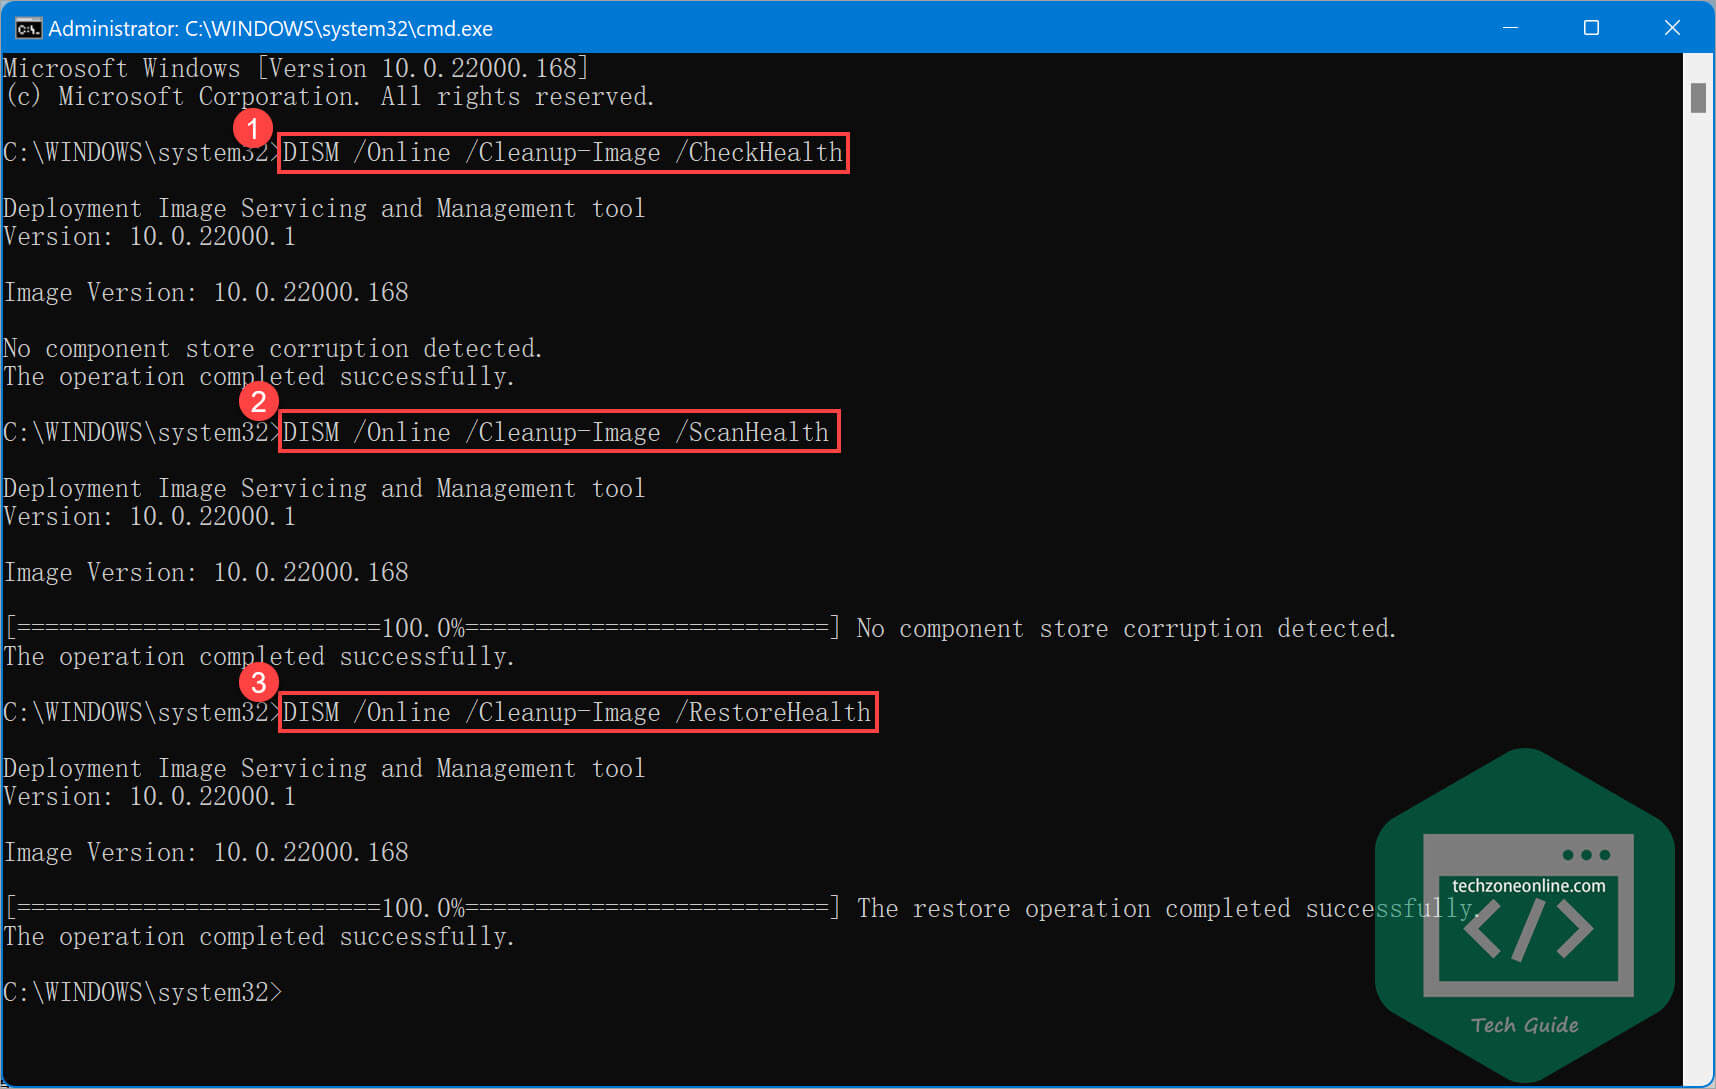
- Restart Windows 10 after all the commands are executed and see if this issue get fixed.
Normally this should resolve all issues. If the issue reappears, you can run SFC again to fix potential system file corruption and verify that the DISM command tool was successful in repairing the errors.
Upgrade to Windows 11 with the ISO file from Microsoft
If you’re still unable to upgrade to Windows 11 using the Windows 11 Installation Assistant, you may need to consider using Windows 11 Disk Image (ISO) file to upgrade to Windows 11.
To download the Windows 11 ISO file from Microsoft, go to the Download Windows 11 page.
In the Download Windows 11 Disk Image (ISO) section, select Windows 11 and click the Download button below to start downloading.

Once downloaded, you can use the ISO file to install Windows 11 on your computer.
That’s it! If you have any questions or suggestions on this topic, feel free to drop a line in the comment area below.
One response to “[SOLVED] Windows 11 Update Error Code 0x8007007f”
Great help, thanks. Simply running the update as administrator solved the problem on my PC,