Windows 11 is available for Insiders now, and on October 5, 2021, the free upgrade to Windows 11 will begin rolling out to general public who have eligible Windows 10 PCs. Although Windows 11 brings brand new UI design and some improved features, many users are still experiencing performance issues.
If Windows 11 is running slow on your PC, don’t worry. It’s fairly easy to speed up your Windows 11 computer. After reading this article, you should be able to tune your Windows PC for better performance easily!
Try these fixes
There are many things you can try to speed up your Windows PC. Just work your way down through the list and you should be able to speed up your Windows 11 PC easily!
- Troubleshoot Windows 11 Performance
- Change power settings
- Disable transparency effects
- Adjust Windows 11 for best performance
- Disable startup apps
- Close background apps
- Clean temporary files
- Run Storage Sense
- Defrag your hard disk
Troubleshoot Windows 11 performance
Before trying anything more complicated, run Microsoft Support Diagnostic Tool first to find and troubleshoot Windows 11 performance issues. Here’s how to to it:
- On your keyboard, press the Windows logo key and R at the same time to invoke the Run dialog box. Copy and paste the following command and press Enter to open the System Maintenance window.
%systemroot%\system32\msdt.exe -id MaintenanceDiagnostic - Click Next and follow the on-screen instructions to complete the remaining steps.
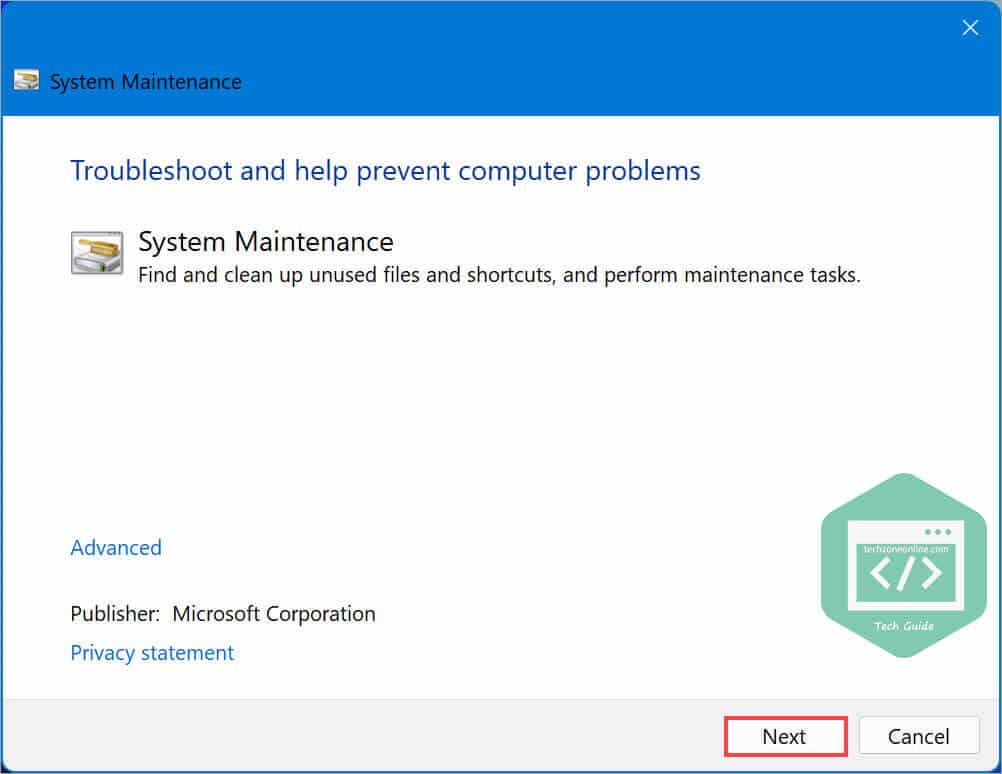
When this tool completes troubleshooting, it would locate the problems that decrease your PC performance and resolve the problems automatically or provides you a way to fix the problem.
If this tool didn’t find any problems, or your computer is still sluggish, try the next fix, below to change power settings.
Change power plan
A power plan is a collection of hardware and system settings (like display brightness, sleep, etc.) that manages how your computer consumes and conserves power. By default, you can pick from 3 predefined plans: Balanced, Power saver and High performance. Most PCs are using the Balanced power plan by default. You can follow the steps below to change the power settings on your PC:
- On your keyboard, press the Windows logo key and R at the same time to open the Run dialog. Type
powercfg.cpland press Enter to invoke the Power Options window in Control Panel.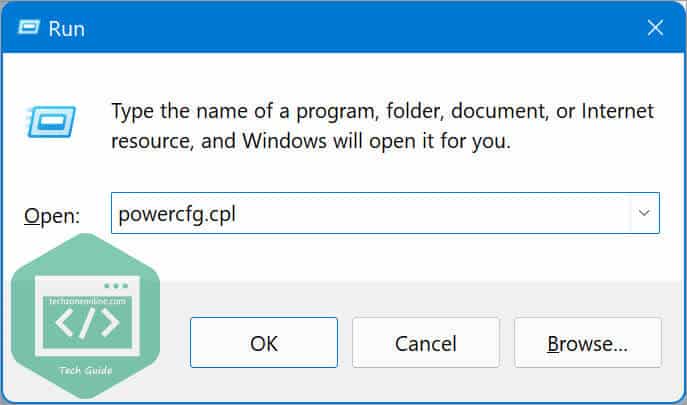
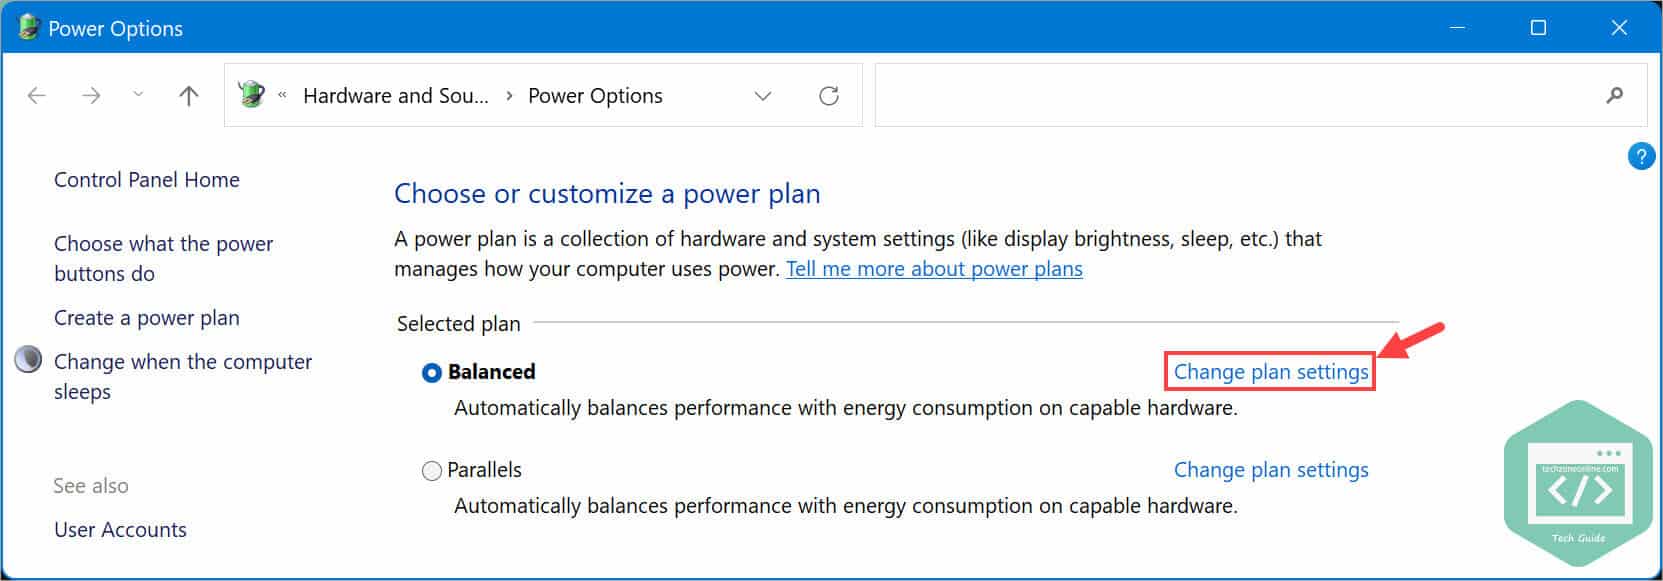
- If the High performance power plan option is available, Switch your power plan to High performance.
If the High performance option is not available on your PC, you can follow the steps below to change advanced power settings:
- On the Power Options window, click Change plan settings next to your current power plan.
- Click Change advanced power settings.
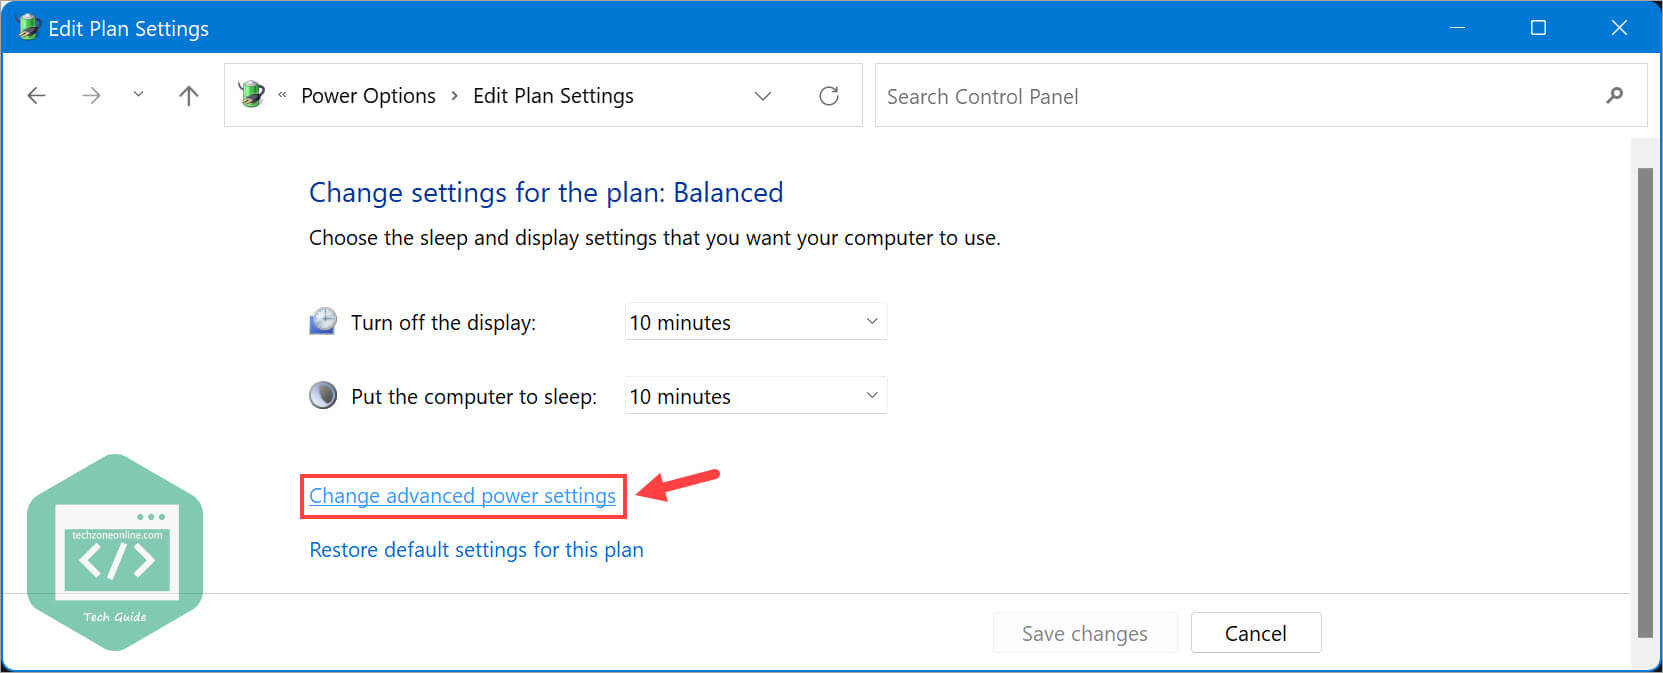
- Expand Processor power management and set both Minimum processor state and Maximum processor state to 100%.

- Click OK to save and apply the changes.
See if this fix works. If Windows 11 is still running slow on your computer, try the next fix to disable transparency effects.
Disable transparency effects
Those visual effects in Windows 11 really make the new OS look modern and elegant. However, it also put a lot of burden on old computers and may even cause them to become sluggish. You can follow the steps below to turn off transparency effects and animation effects:
- On your keyboard, press the Windows logo key and search for visual effects.
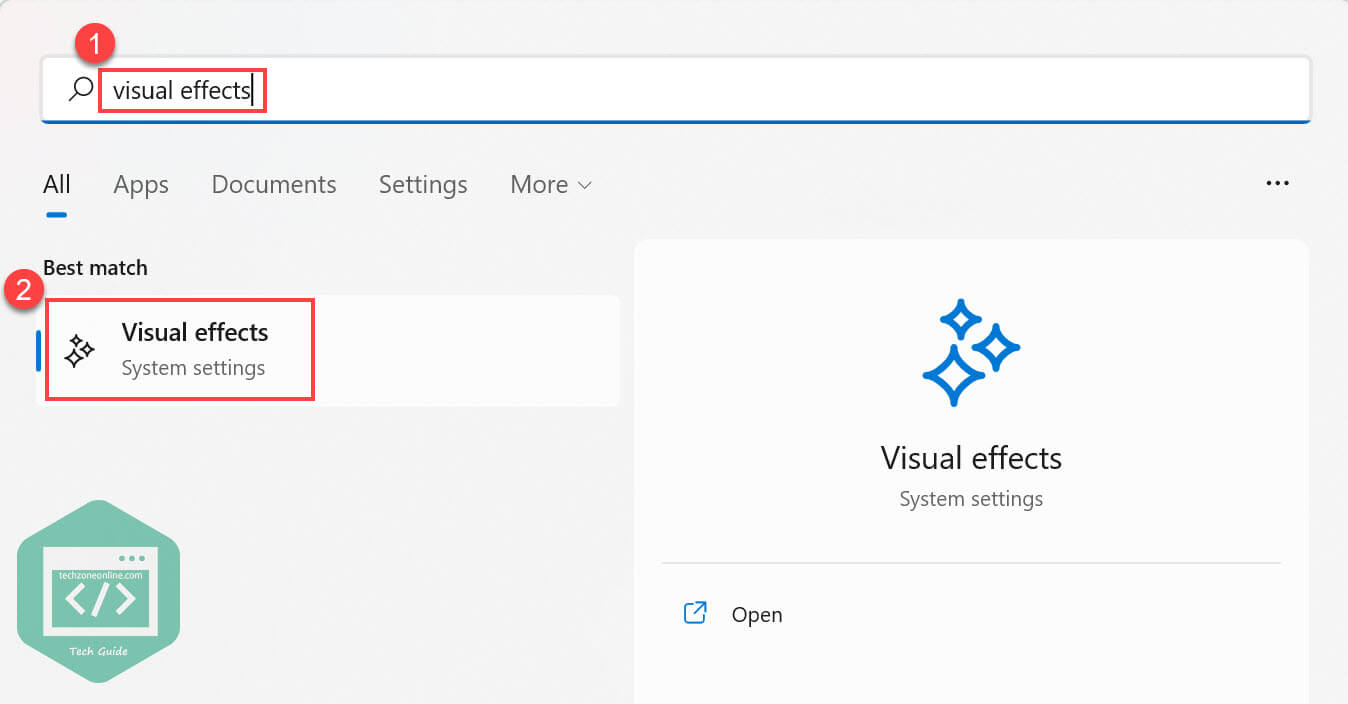
- Select Visual Effects from the list of search results.
- Turn off the toggles next to Transparency effects and Animation effects.
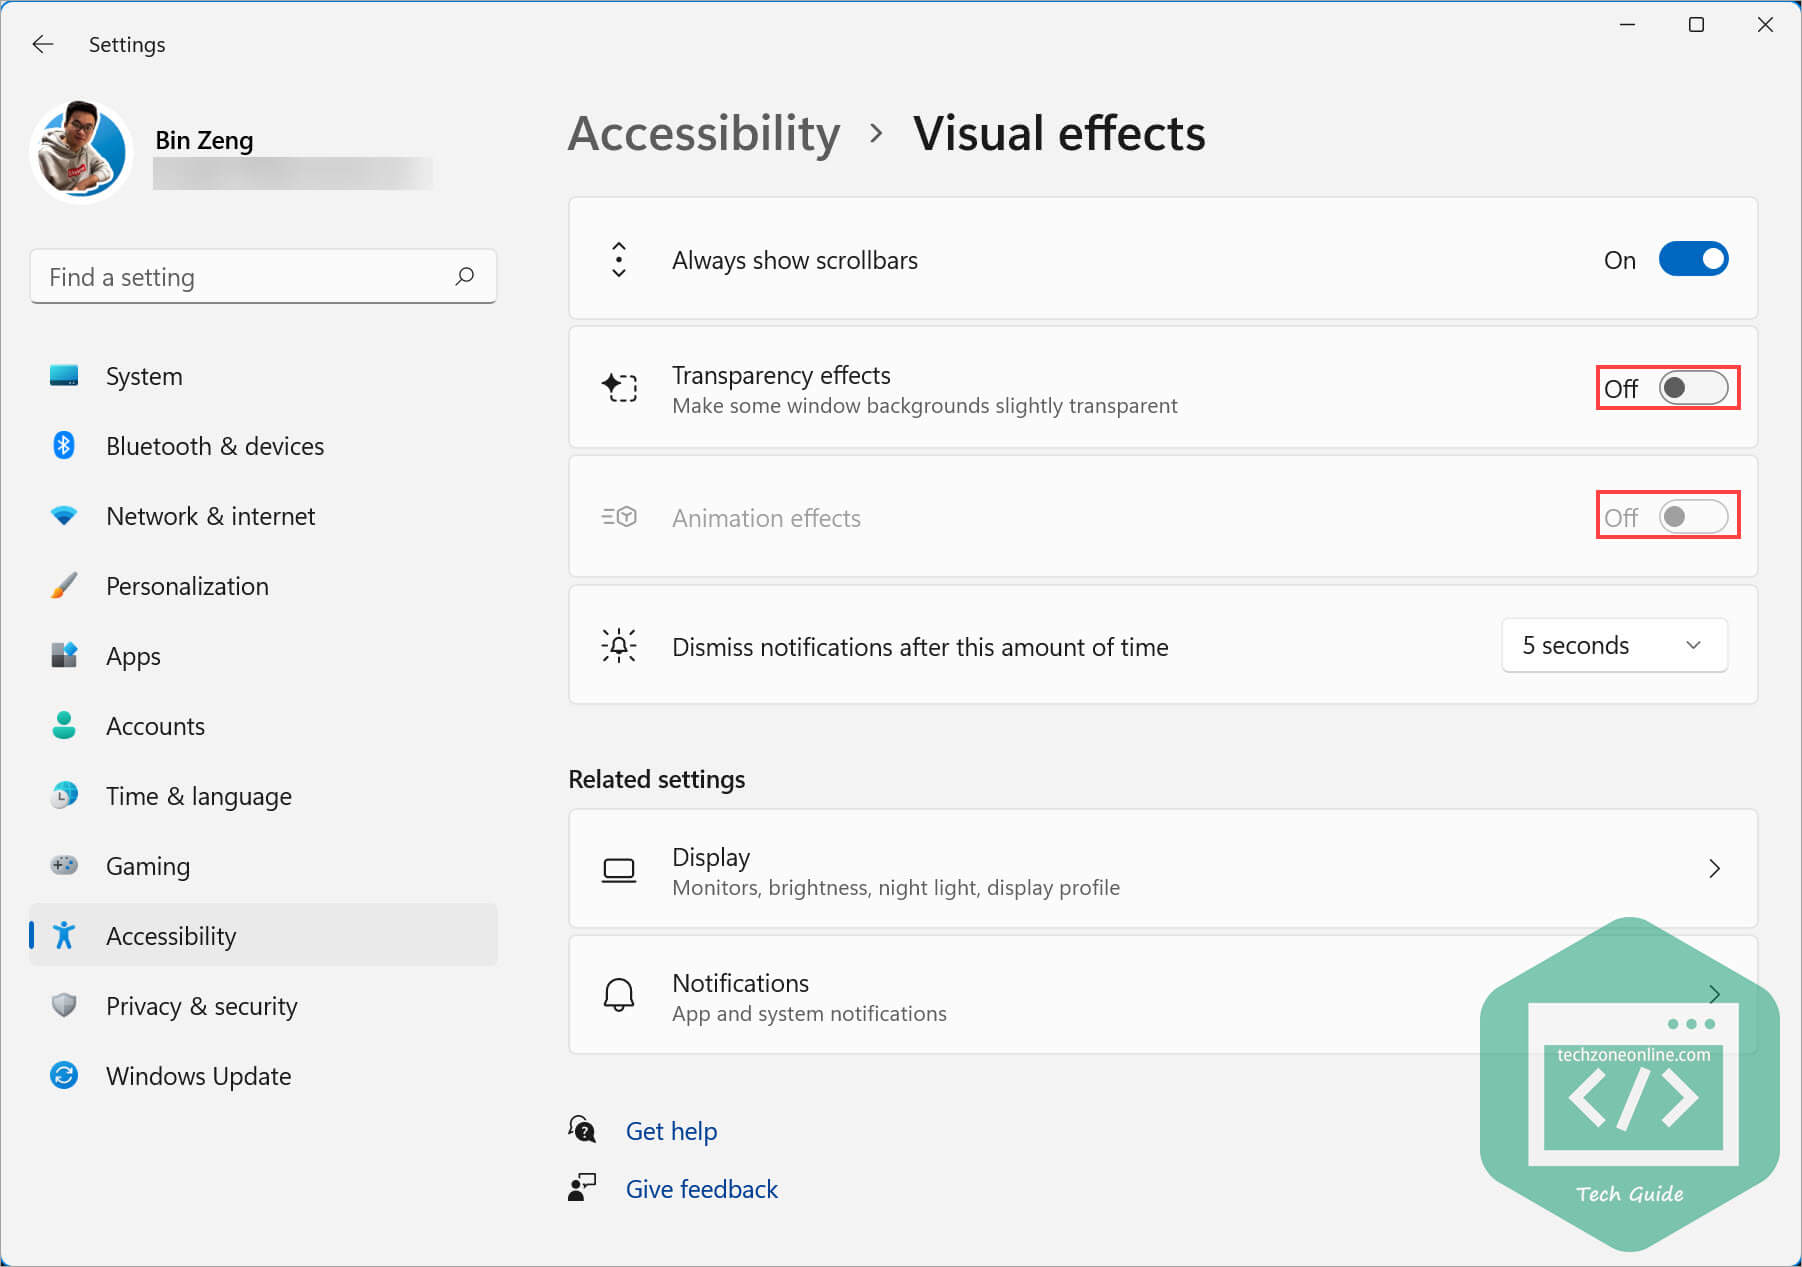
See if your computer becomes faster after you disabled those visual effects. If this fix didn’t improve much, try the next fix to adjust Windows 11 for best performance.
Adjust Windows 11 for best performance
Windows OS allows you to select the settings you want to use for the appearance and performance of Windows on your computer, and just like Windows 10, you can easily adjust Windows 11 for best performance. Here’s how to do it:
- On your keyboard, press the Windows logo key and R at the same time to open the Run dialog. Copy and paste
%windir%\system32\SystemPropertiesPerformance.exeand press Enter to open the Performance Options window.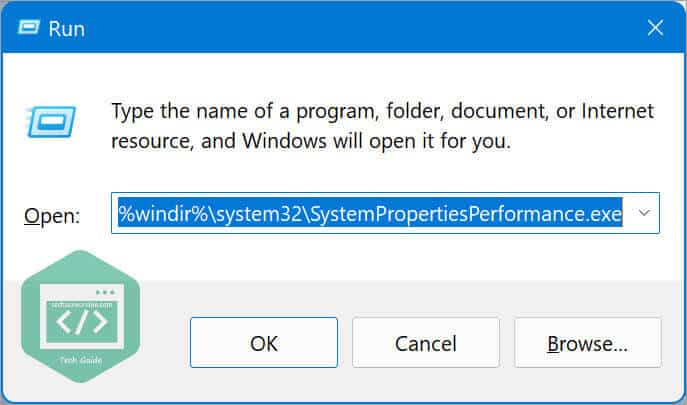
- Under the Visual Effects tab, select Adjust for best performance.
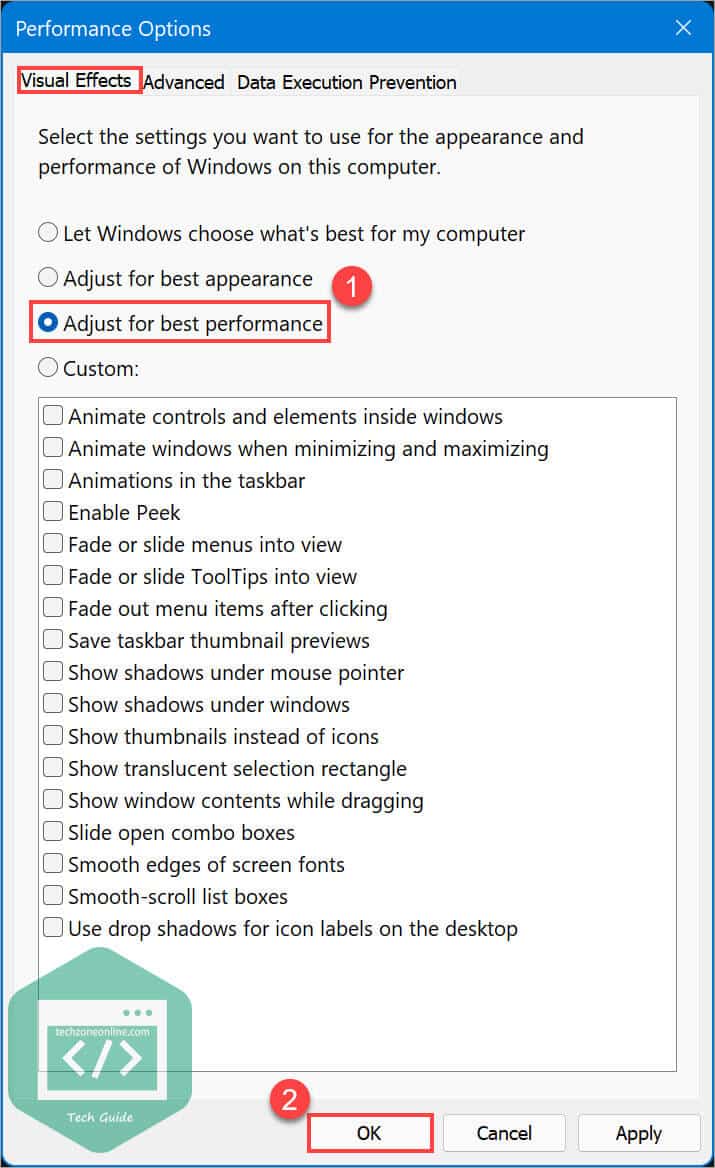
- Click OK to save and apply the changes.
If your PC still runs slowly, continue to the next tip.
Disable startup apps
If there are too many programs loading at startup, it would affect the boot speed of Windows 11 and may even slows the system. We suggest that you keep your startup programs to a minimum and only add the important ones.
It’s quite easy to disable and manage the startup programs on your computer, and here’s how to do it:
- On your keyboard, press Ctrl, Shift and Esc at the same time to open Task Manager.
- Navigate to the Startup tab and rank these startup programs by startup impact.
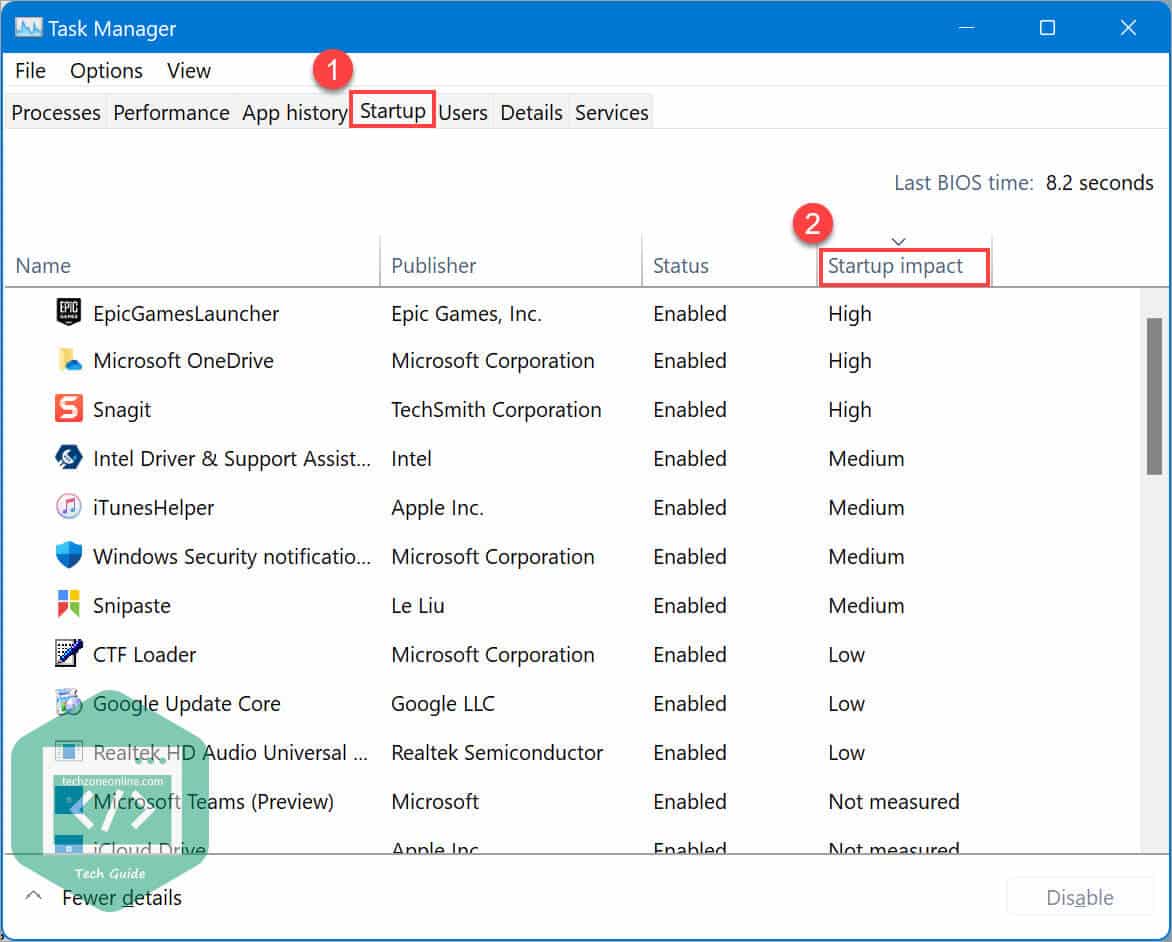
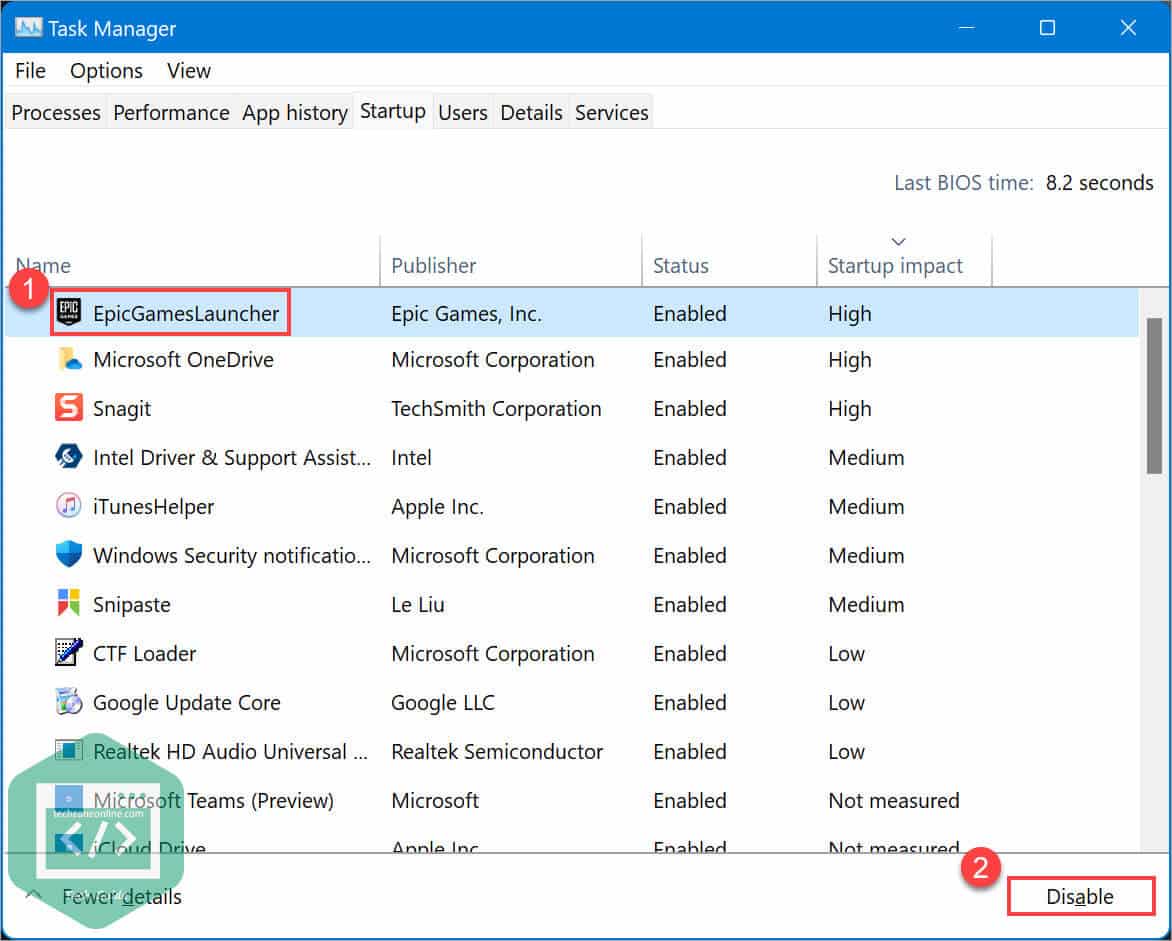
- Select the programs you want to disable from loading at startup and click the Disable button at the bottom.
Normally, the boot speed of your computer will improve after you disabled some unnecessary startups.
Close background apps
Background apps may also slow down your computer, especially when the RAM of your PC is insufficient. However, not all the apps require to be running in the background, as they may consume huge resources and make your Windows 11 PC run slowly.
You can follow the steps below to close background apps:
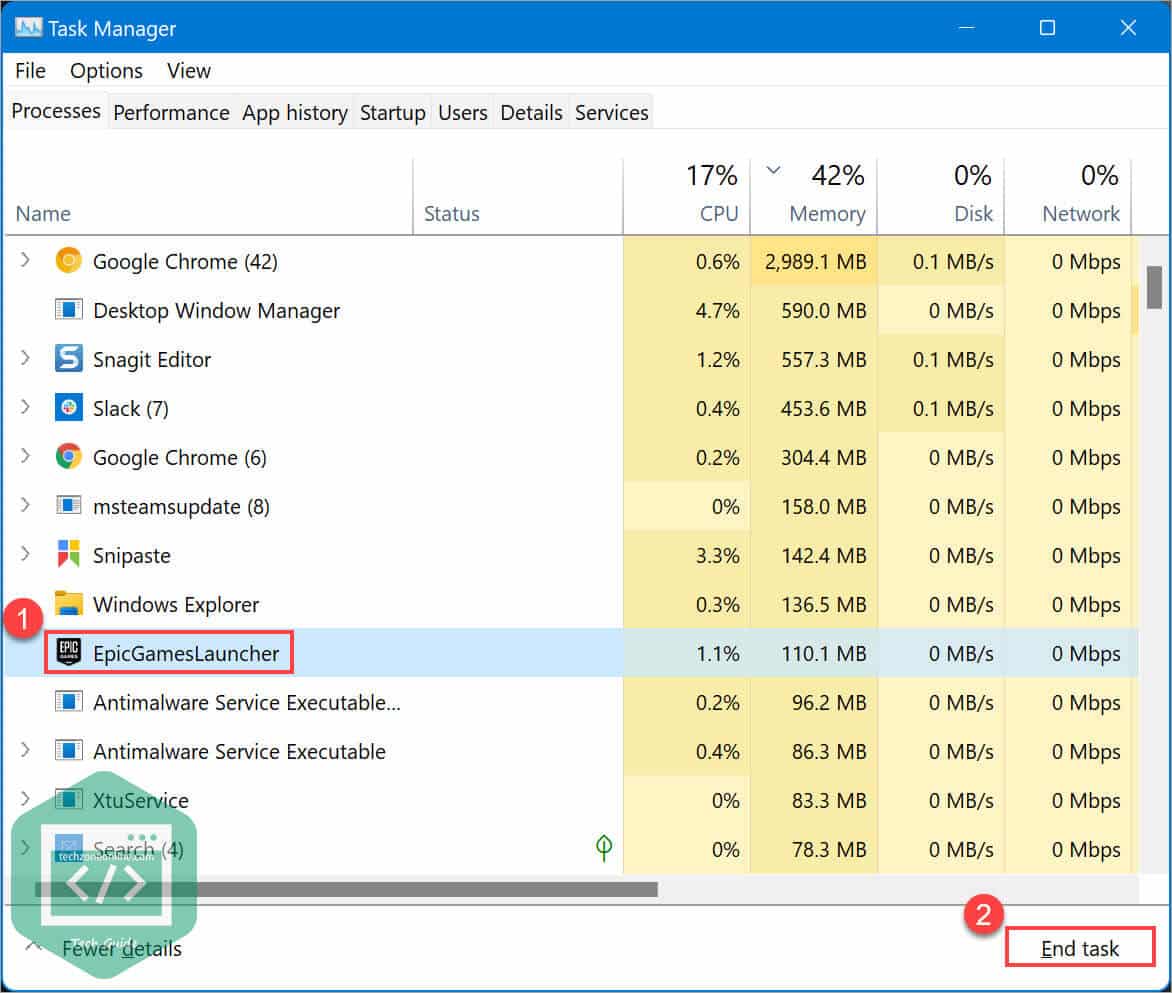
- On your keyboard, press Ctrl, Shift and Esc at the same time to open Task Manager.
- Select the background apps you want to close, then click End task to close it.
For the apps from Microsoft Store, you can also set the background apps permission to Never to avoid the app running in background. Here’s how to do it:
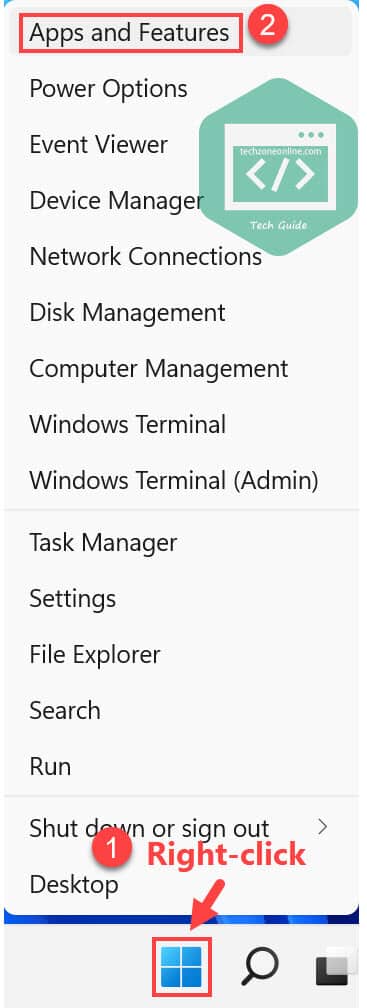
- Right-click on the Start button (the Windows icon) and select Apps and Features.
- Right-click on the vertical three dots next to the app and select Advanced options.

- In the Background apps permissions section, click the drop-down menu under Let this app run in background and select Never.
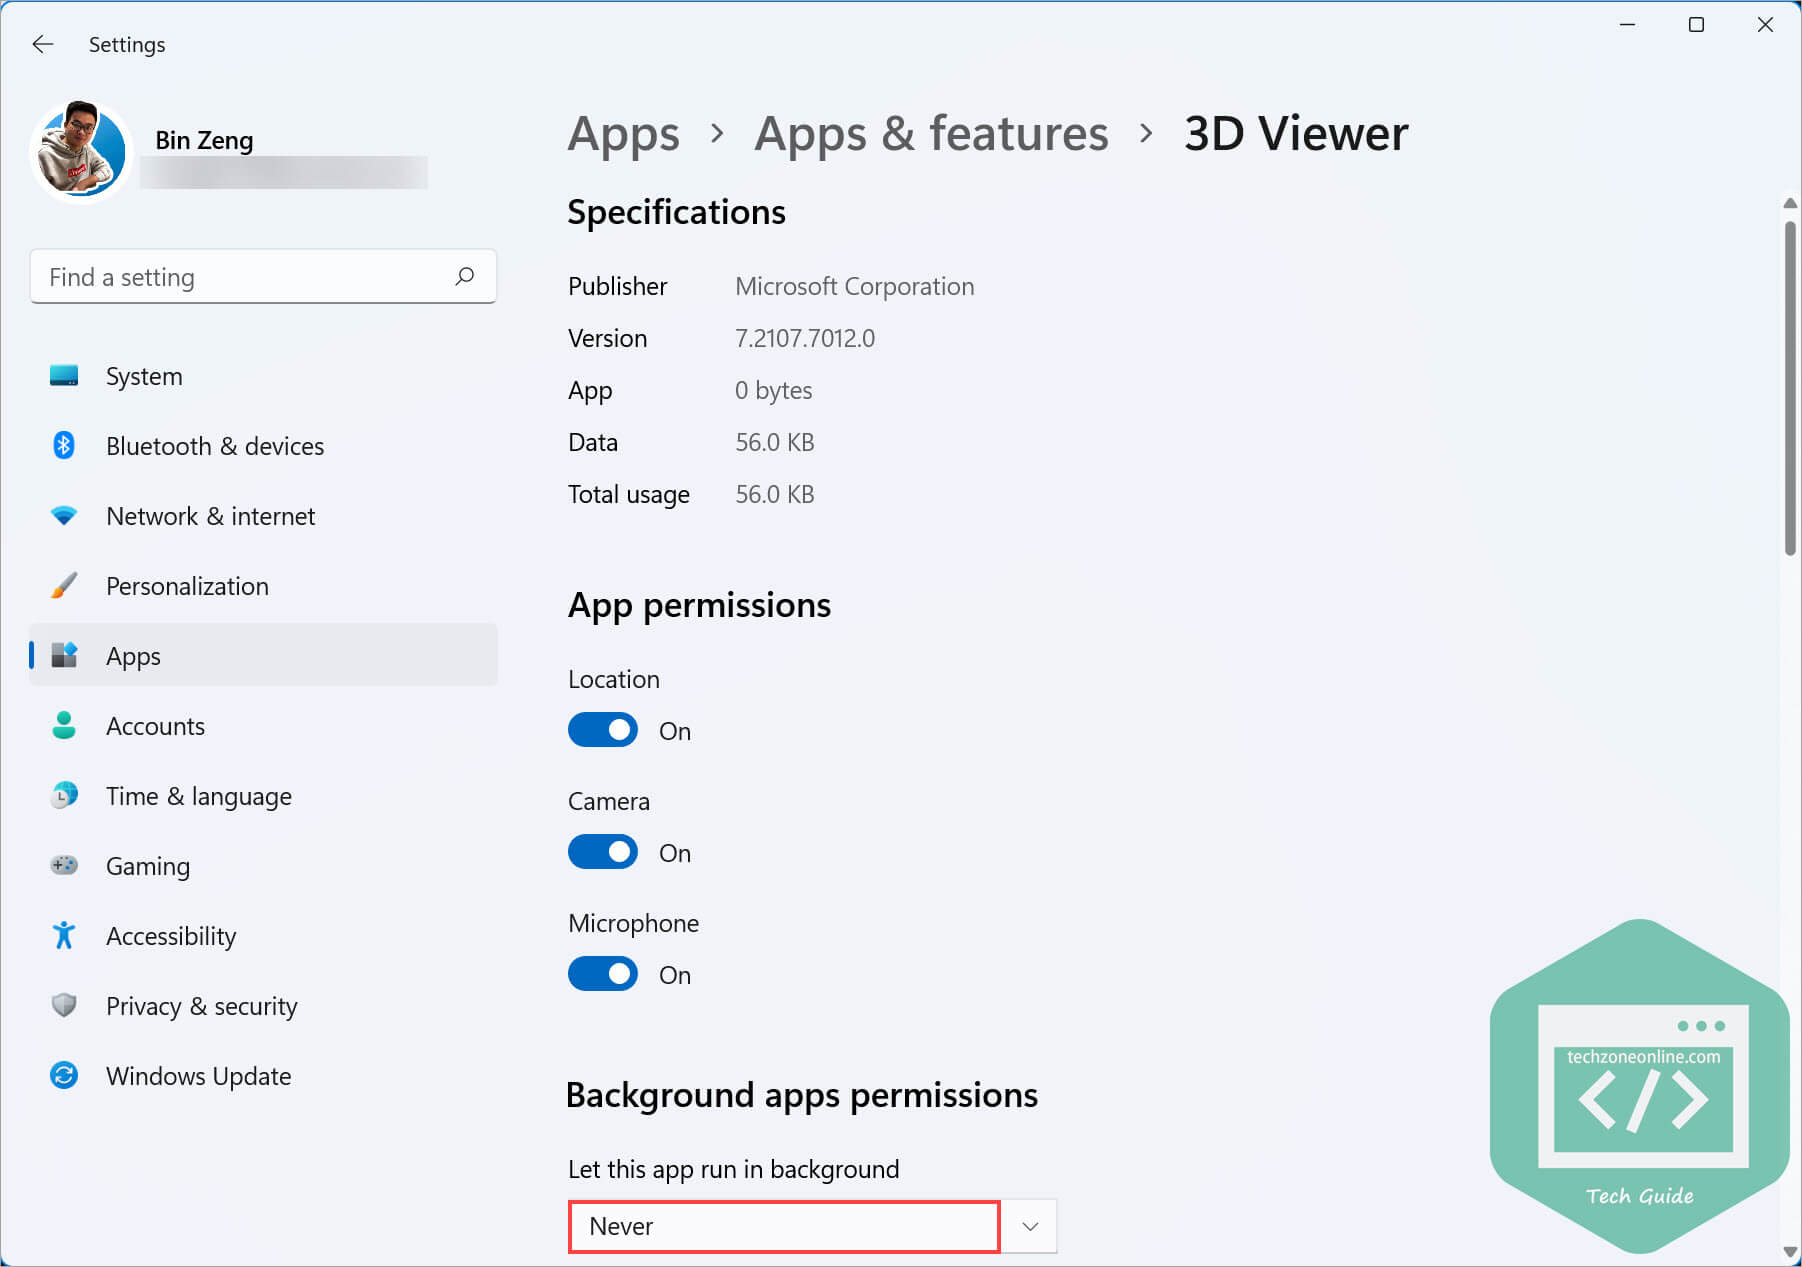
- Repeat the steps above for other apps that you don’t want to consume system resources in background.
Clean temporary files
The temporary files (temp files) are files created to store information temporarily. After a program is closed, the temp files are deleted. However, sometimes those temp files will not be deleted automatically after you uninstall programs from your computer, unless you restart your PC. If you often neglect the restart request, the temp files would accumulate, which will slow down your computer.
To make your Windows 11 run faster, you should get rid of these files. Here’s how to do it:
- On your keyboard, press the Windows logo key and R at the same time to open the Run dialog. Type %temp% and press Enter to open the Temp folder.
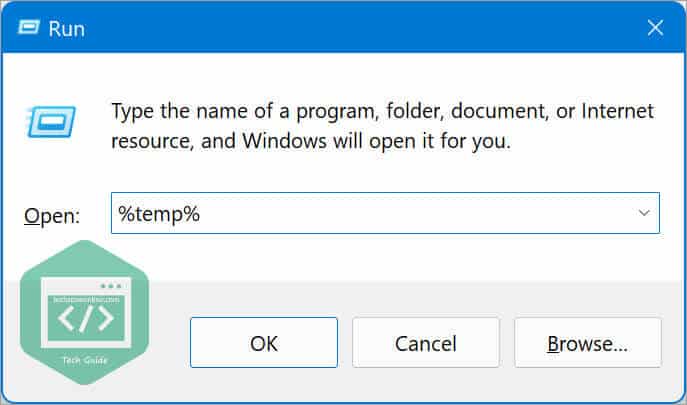
- Press Ctrl and A on your keyboard to select all the files in the Temp folder, then press Del to delete all of them.
- On your keyboard, press the Windows logo key and I at the same time to open Windows Settings, then go to System > Storage > Temporary files.
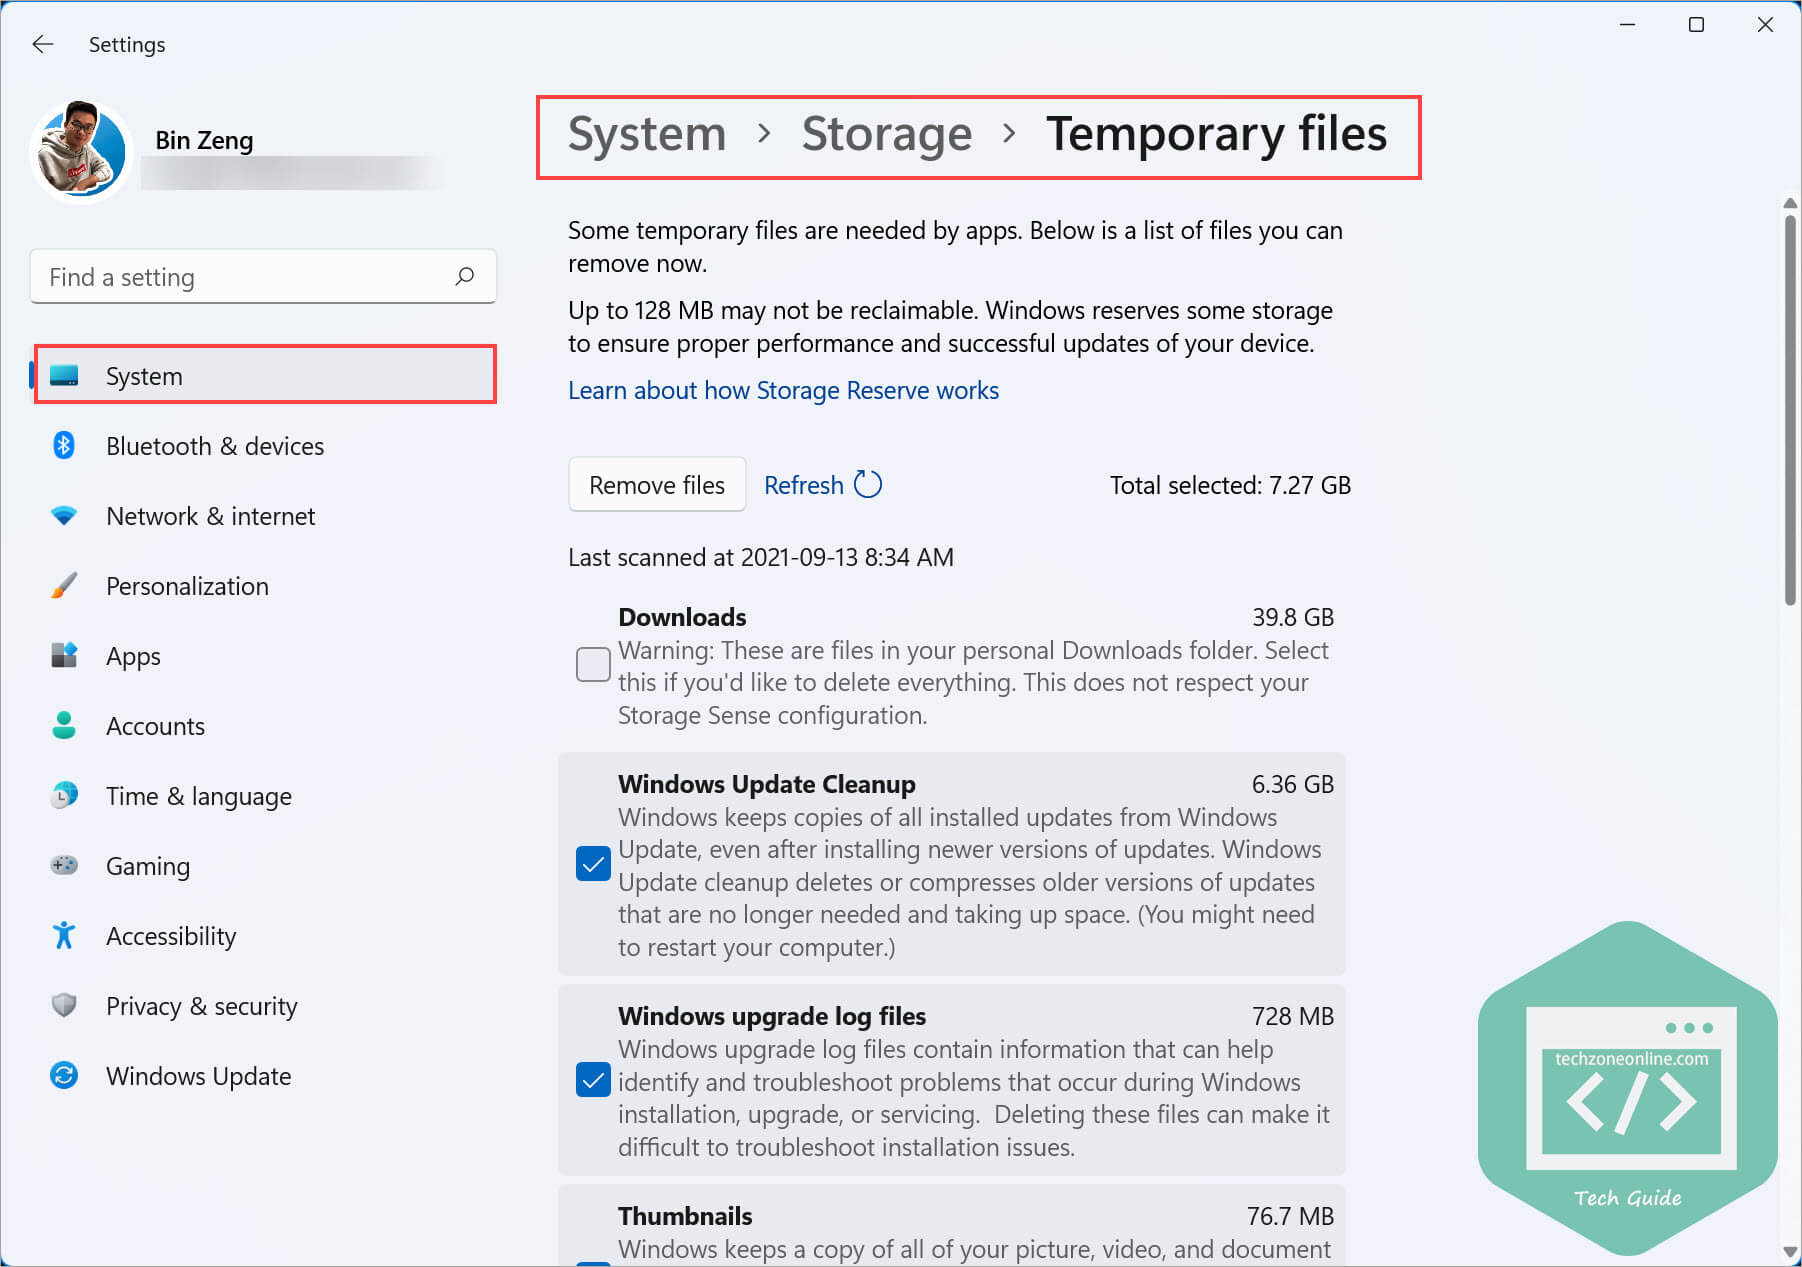
- Check the box in front of the file type to select the file types you want to remove, then click the Remove files button to delete the files you selected.
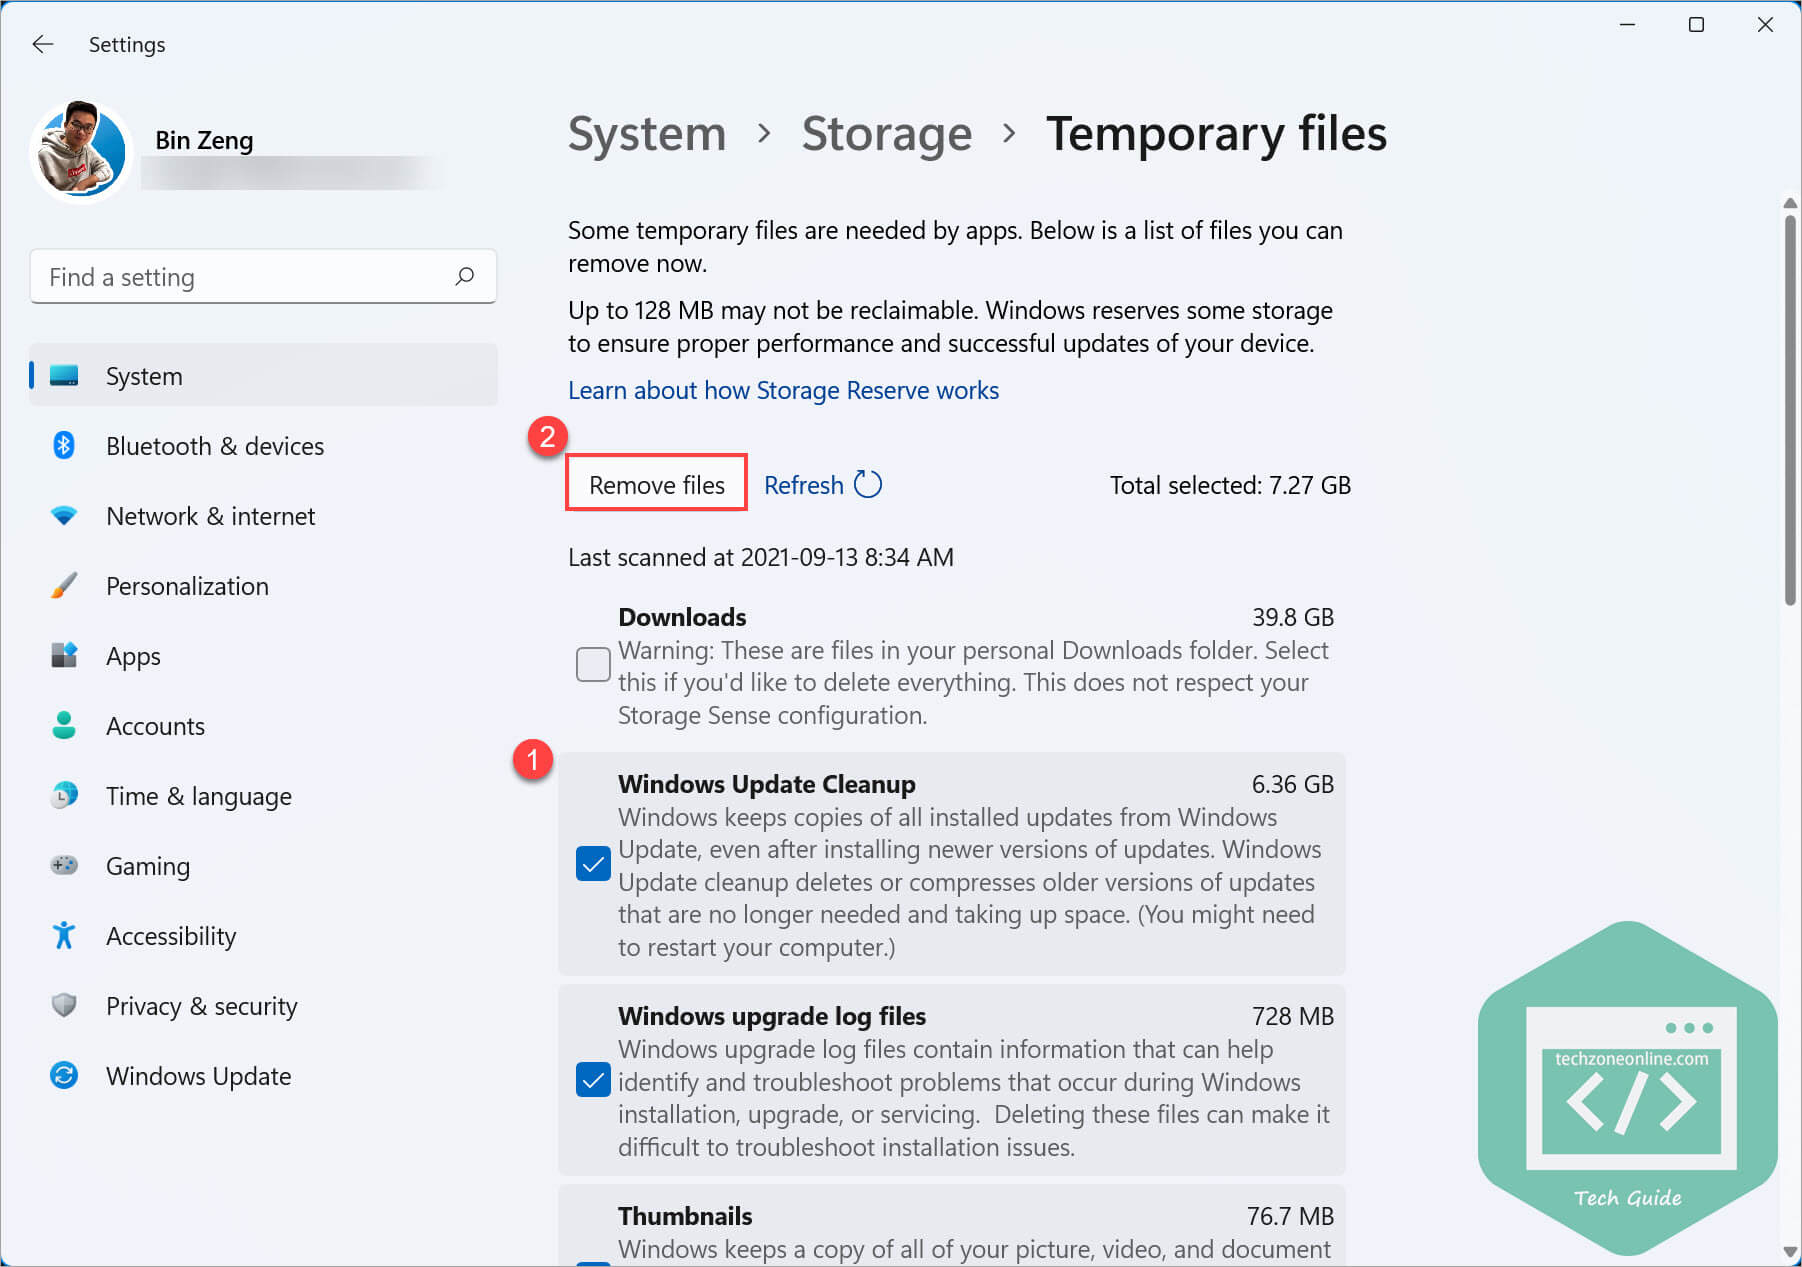
Note: Please double check whether the file you selected is the one you want to delete.
Run Storage Sense
As a built-in feature in Windows 11, Storage Sense is designed to keep Windows 11 running smoothly by keeping your storage optimized. It’s a silent assistant that works on your behalf with very little setup.
The Storage Sense feature is enabled by default, and you can follow the steps below to check if this feature is turned on:
- On your keyboard, press the Windows logo key and I at the same time to open Windows Settings.
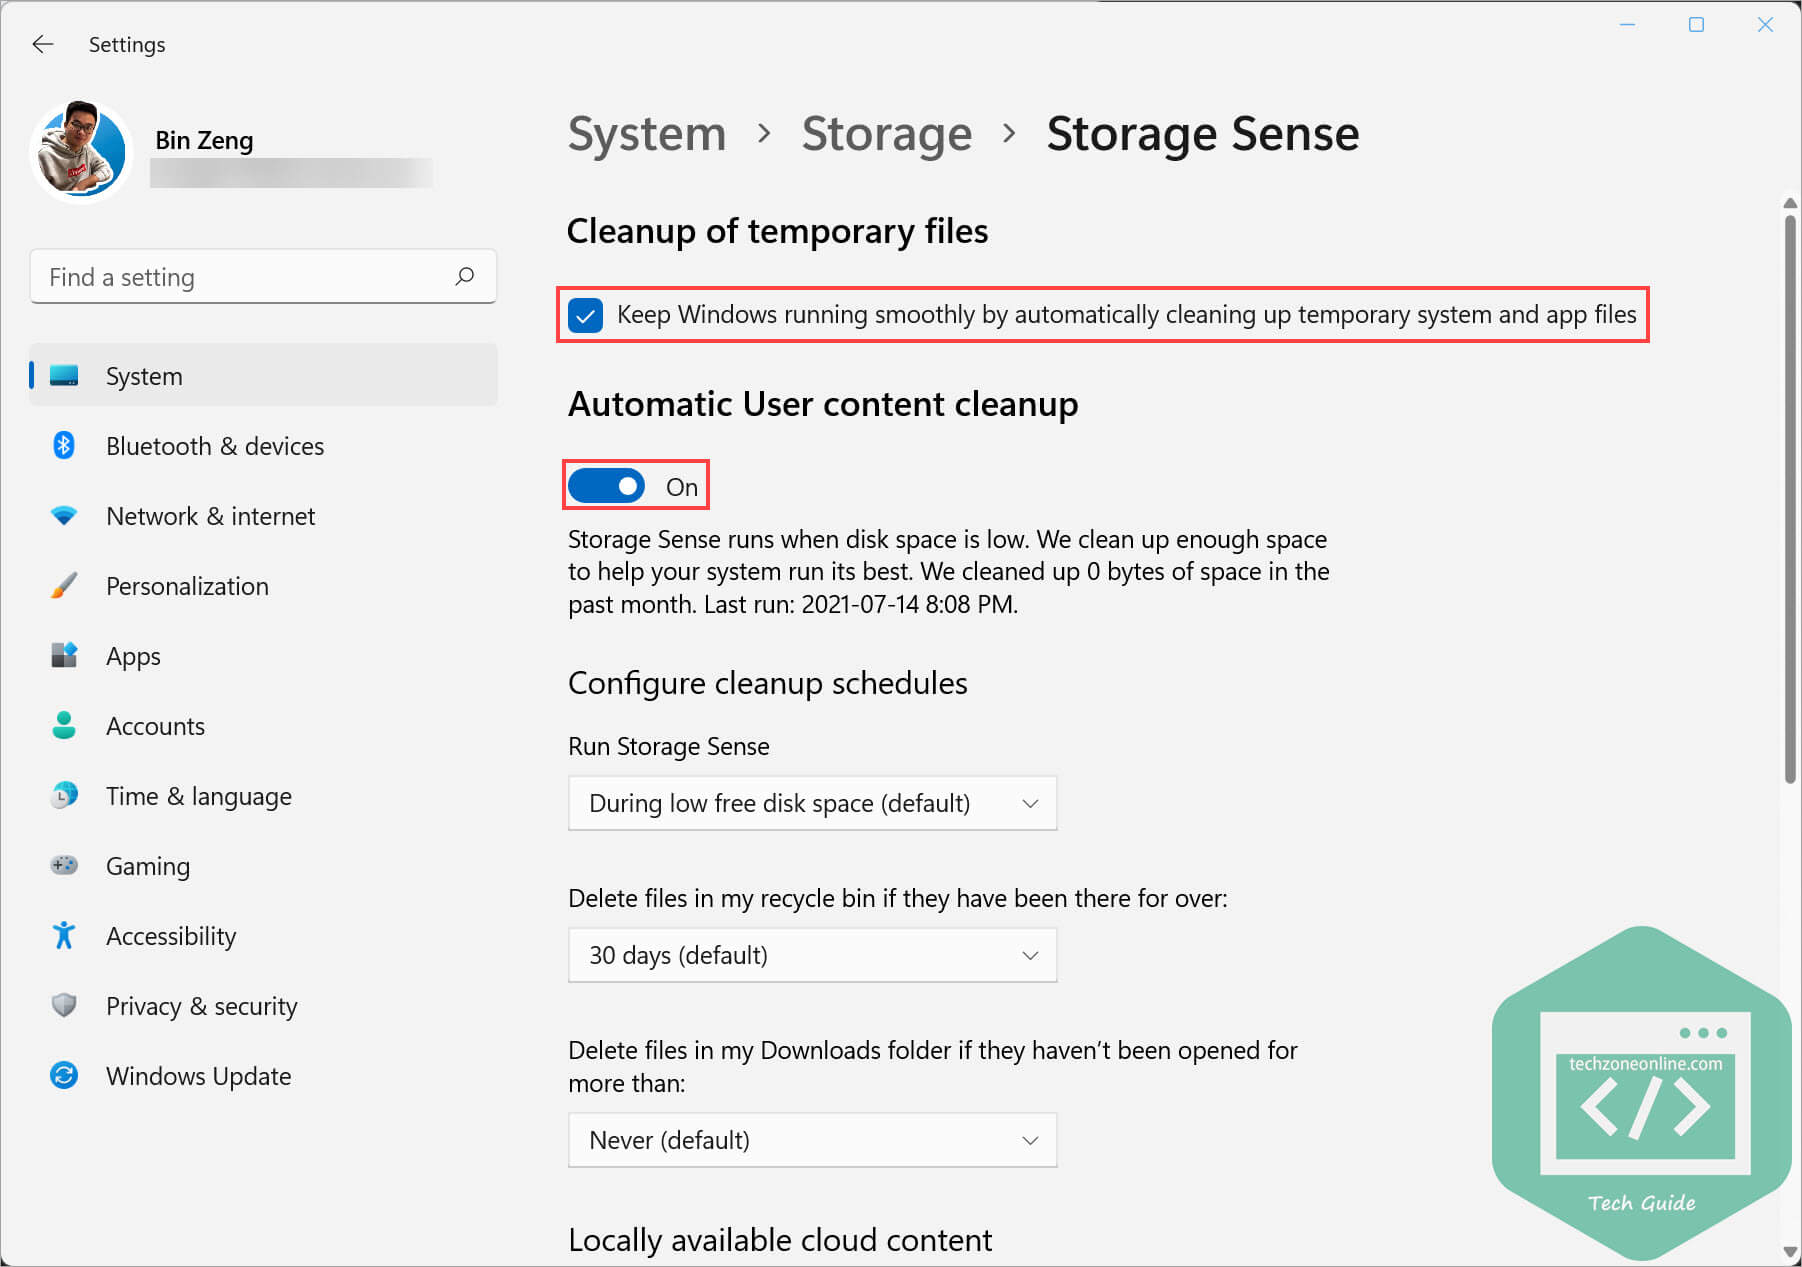
- Go to System > Storage. In the Storage management section, make sure the toggle next to Storage Sense is turned on. Then click on Storage Sense to view its settings.

- In Cleanup of temporary files section, ensure you check the box next to Keep Windows running smoothly by automatically cleaning up temporary system and app files.
- Make sure the toggle under Automatic User content cleanup is turned on.
- In the Configure cleanup schedules section, you can configure when to run Storage Sense and when to delete files in your recycle bin and your Downloads folder.
- In the Locally available cloud content, you can configure when to remove unused cloud-backed content from your device.
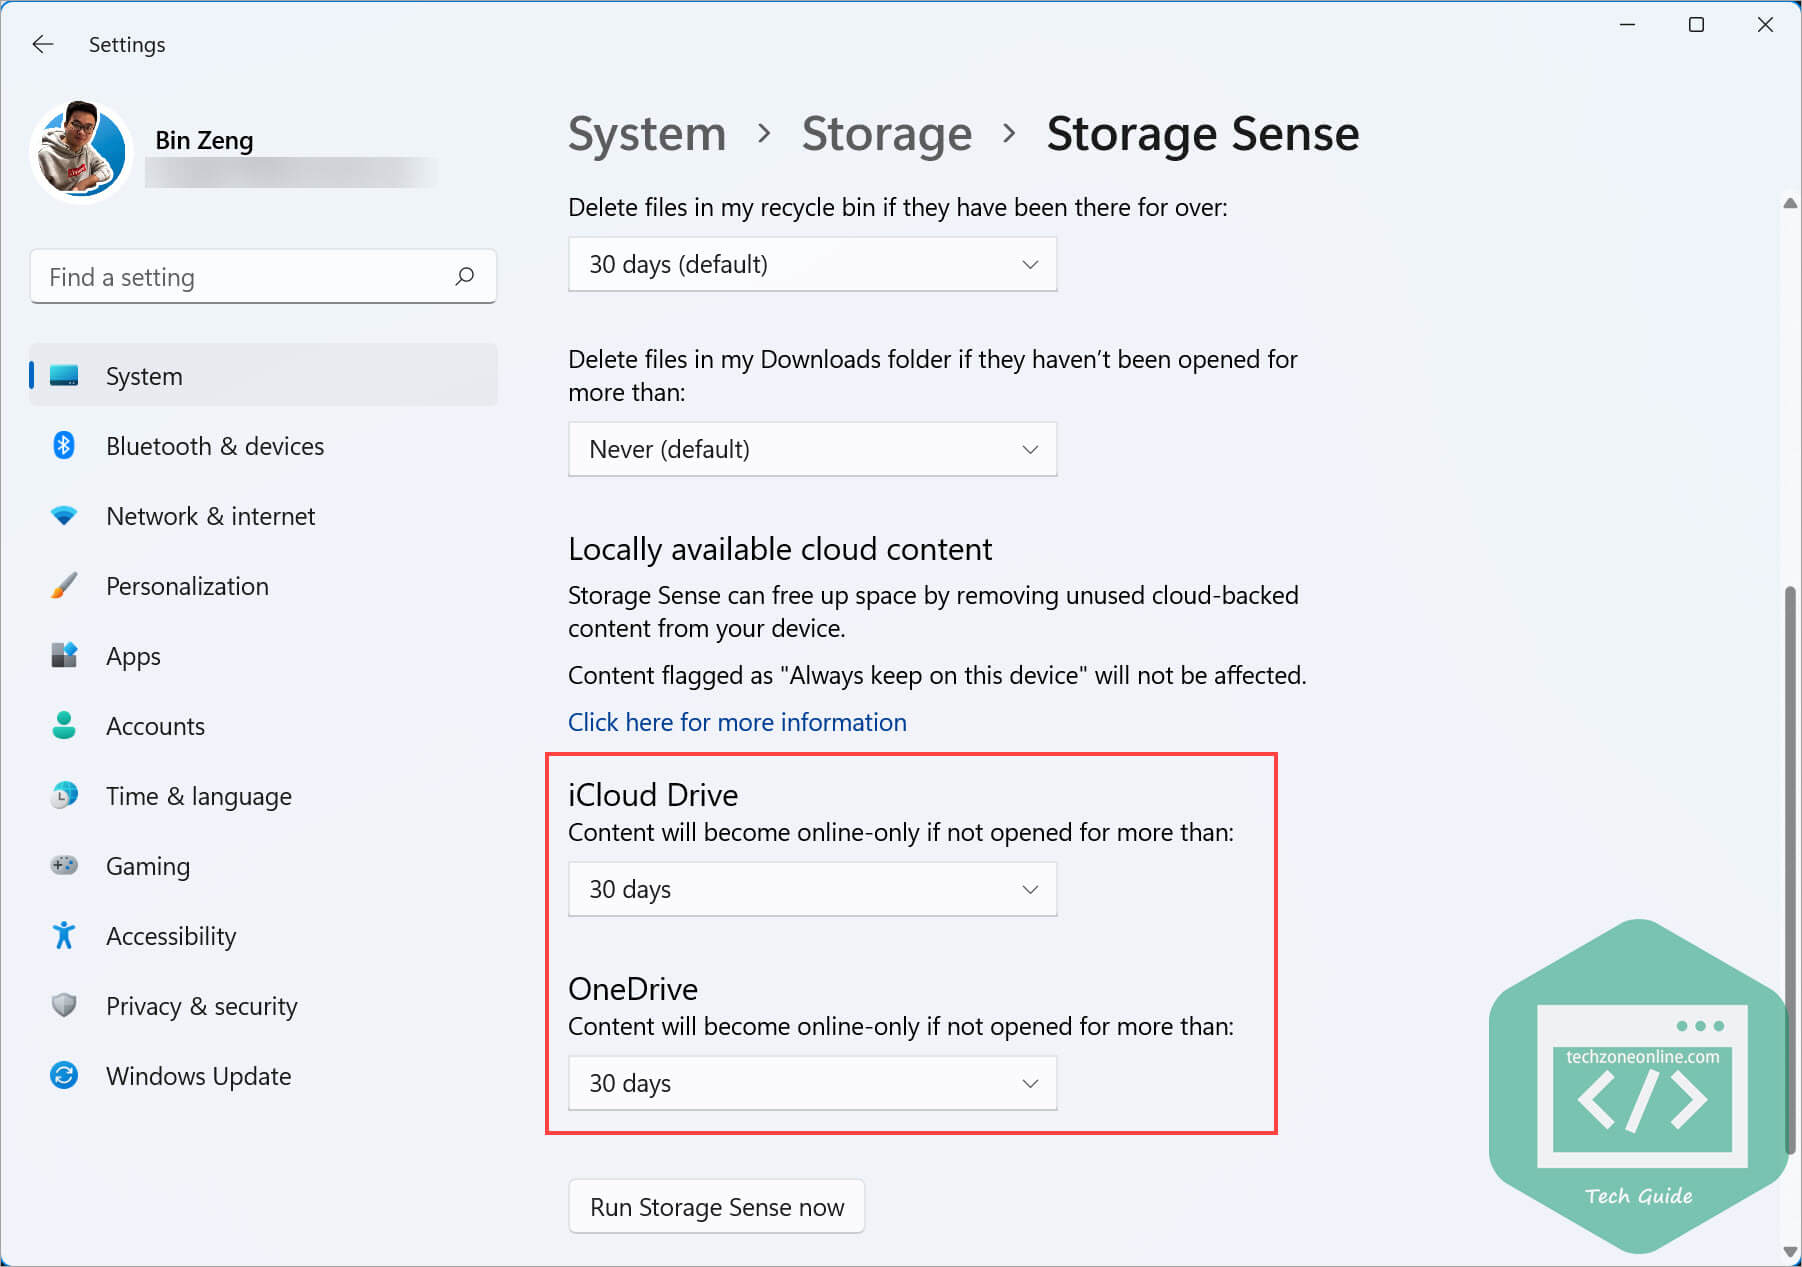
- If you’d like to run Storage Sense immediately, scroll down to the bottom and click the Run Storage Sense now button.
See if your computer becomes faster after running Storage Sense.
Defrag your hard disk
The storage space will get fregmented as you use your hard disk drive. When this happens, it will slow down the Windows 11 OS that installed on the hard disk drive, since it will take more time for the system to find information stored on the hard disk.
By defragging your hard disk, you reorganize the data stored on the hard drive so that the related pieces of data are lined up in a continuous fashion, which helps the drive to find information faster. In short, defragmentation improves your computer performance.
You can follow the steps below to defrag your hard disk:
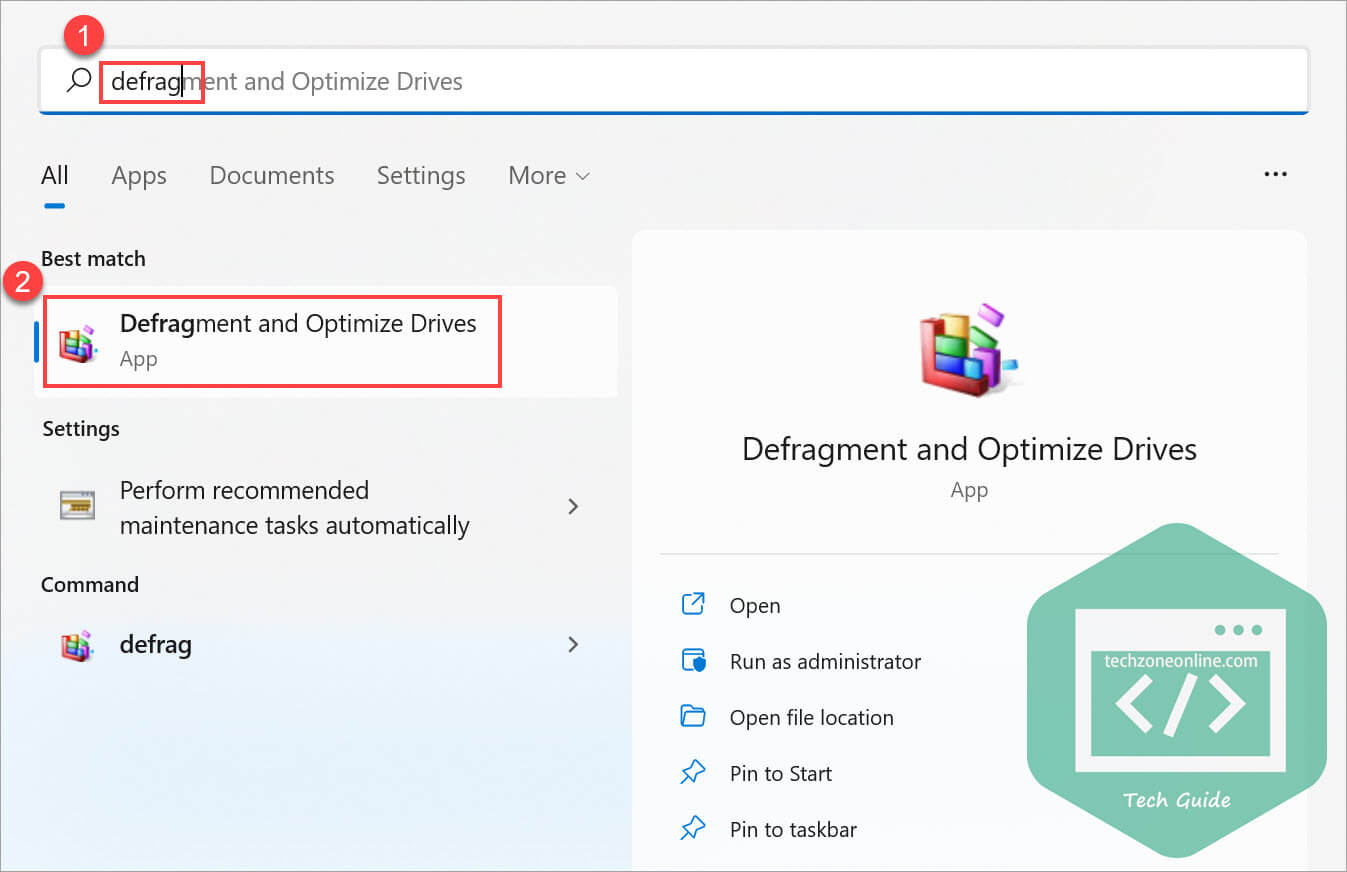
- On your keyboard, press the Windows logo key and type defrag. Select Defragment and Optimize Drives. The Optimize Drives window will pop up.
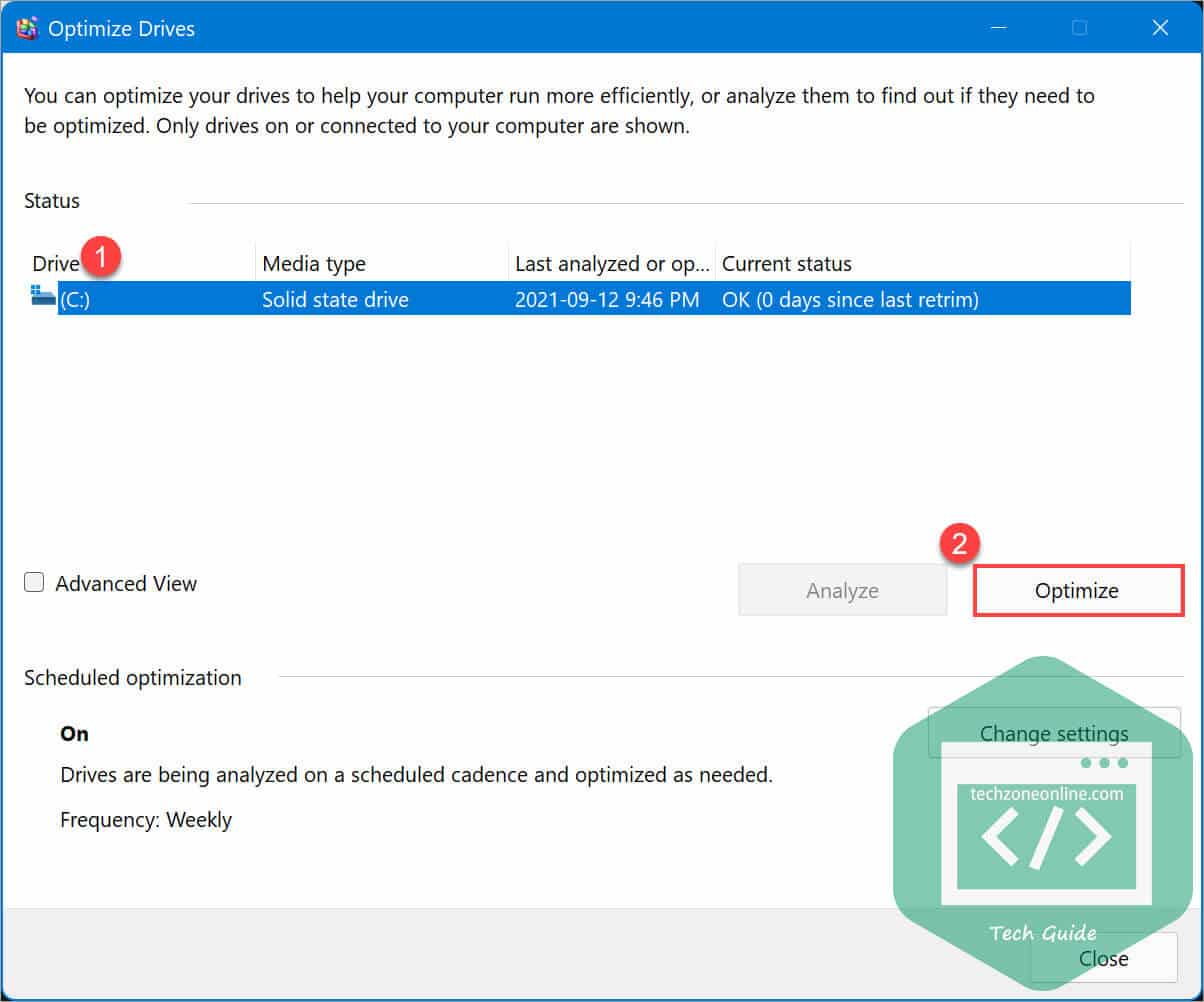
- Select the drive you want to defrag, then click the Optimize button to start defragging.
Normally, after optimizing the hard disk drive, your computer will run faster. If you want to boost the performance of your computer, it’s recommended to install Windows 11 on a solid-state drive (SSD).
9 responses to “[SOLVED] Windows 11 running slow”
None of this worked. Best upgrade version is to e.g. go for Ubuntu or Zorin OS. Been with Microsoft since Win 3.11, and using it less and less. It is not an easy thing to do making a new Windows version, and what is even more amazing is that they are doing the same mistakes for us consumers since the 3.11 for Workgroups upgrade… My god M$…!
lol
Thanks for these tips. I found that tips #3 and #4 messed with all my fonts on apps and Chrome, so I had to rescind those two.
My PC upgraded from WIN10 to WIN11 without me knowing it. It slowed down tremendously. Thought I had a virus. This definitely helped with start up time. And with opening most programs, so far. I’ve read that switching from my 5400 rpm hard drive to and SSD helps even more. THANKS!!!
Really good advices
Really good advices
Very well written article, thank you.
lol
I simply wanted to write down a quick word to say thanks to you for those wonderful tips and hints you are showing on this site.