A screenshot is worth a thousand words. In most cases, using screenshots to share your ideas is more efficient than writing down wordy emails or messages. If you don’t know how to take screenshots on Windows 11, you’ve come to the right place! After reading this article, you’ll learn how to take screenshots on your Windows 11 computer easily!
4 ways to take screenshots on Windows 11
There are more than one method to take screenshots on Windows 11. In this article, we list 4 methods for you to try. You don’t have to try all. Just pick the one that works best for you.
Use Keyboard shortcuts to take screenshots
The easiest way to take screenshots on Windows 11 is to use keyboard shortcuts. You may have already know that by simply pressing the print screen key on your keyboard, you can take a screenshot of the entire screen. Below are some frequently used screenshot keyboard shortcuts you should know:
| Key combination | Function |
|---|---|
| PrtSc (this key might also be called Prnt Scrn or Prt Sc on some physical keyboards) | Copy the entire current screen to the clipboard. If you’re using OneDrive to sync the Pictures folder, the screenshot will be automatically saved to your OneDrive. You can also press Ctrl + V to paste the screenshot to other places like Paint, Word, Google Docs and so on. Note: In some laptops, you can only activate the Print Screen button after pressing the Function key. |
| The Windows logo key + PrtSc | Capture the whole screen and automatically save the screenshot to the path: C:\Users[Your Name]\Pictures\Screenshots. The screenshot will also be copied to the clipboard, too. |
| Alt + PrtSc | Take the screenshot of an active window (the window currently in use). If you’re using OneDrive to sync the Pictures folder, the screenshot will be saved to your OneDrive automatically. It’ll also be copied to the clipboard, too. |
| The Windows logo key + Shift + S | This keyboard combination will invoke the built-in Snip & Sketch app, a more refined version of the Snipping Tools and comes with a feature-rich image editor. We’ll introduce this tool in the next section. |
Use Snip & Sketch to take screenshots
Snip & Sketch, originally known as Screen Sketch, is a free screenshot tool provided by Microsoft. It has been built into Windows 10 since October 2018. In Windows 11, you can still use this handy tool to take screenshots.
To take screenshots with Snip & Sketch:
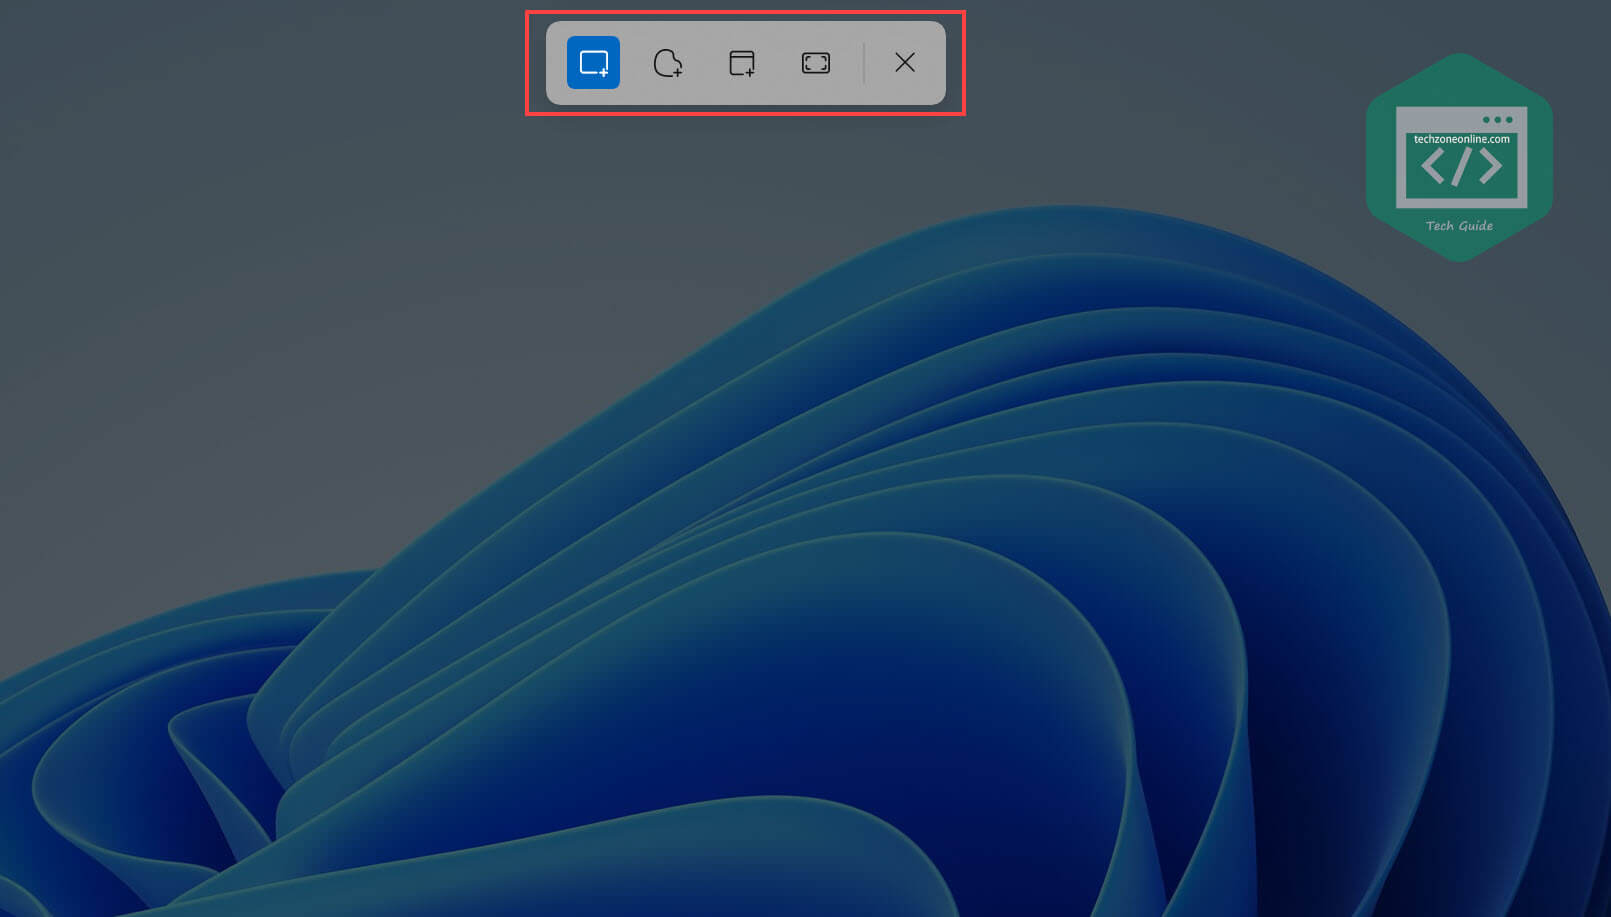
- On your keyboard, press the Windows logo key, Shit and S and the same time to launch Snip & Sketch. Your mouse pointer will turn into a cross, and the screen will immediately dim. You’ll see a list of tools on the top of your screen.

- Snip & Sketch provides you with 4 options. You just need to select the one you need:
– A rectangular snip
– A free-form snip
– A screenshot of the active window
– A full screen screenshot - Once you took a screenshot, the screenshot will be copied to the clipboard. You can paste it into a document, or paste it into an image editor. The thumbnail of the screenshot will appear at the lower-right corner of your screen. You can click on it to mark up and share the screenshot.

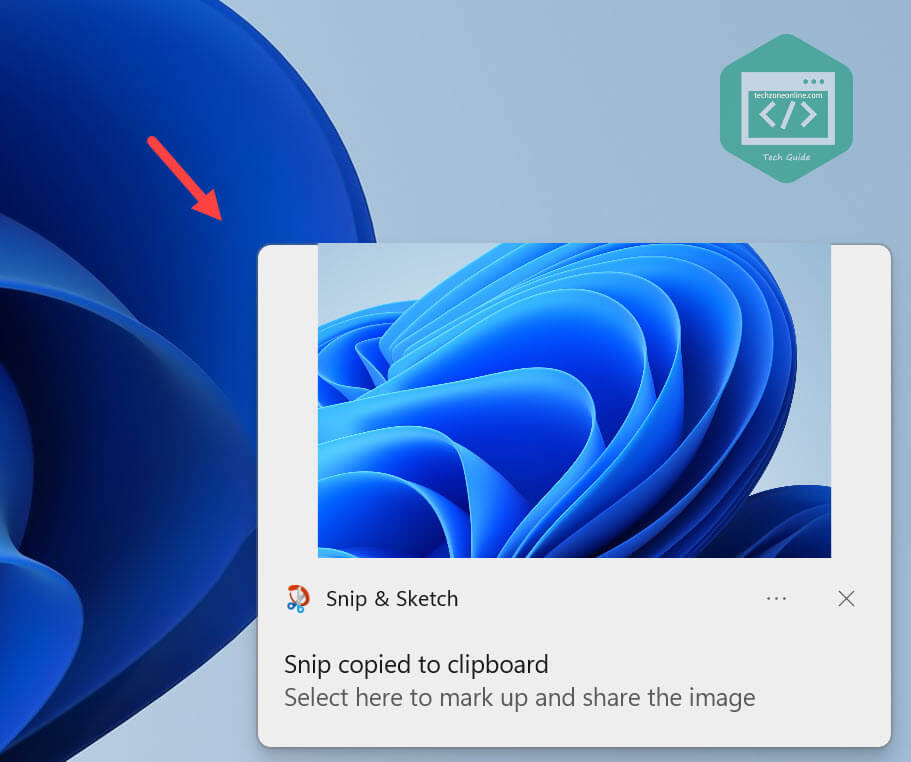
The image editor in Snip & Sketch app provides some basic tools for you to mark up and share the screenshot you just took.

Use Snipaste to take screenshot
If the built-in Snip & Sketch app fails to meet your needs, just give Snipaste a try!
Snipaste is a simple but powerful snipping tool that enables you to pin the screenshot back into screen.
You just need to download and install the application, press the F1 key to start snipping, then press the F3 key to paste it as a floating window. That’s it!
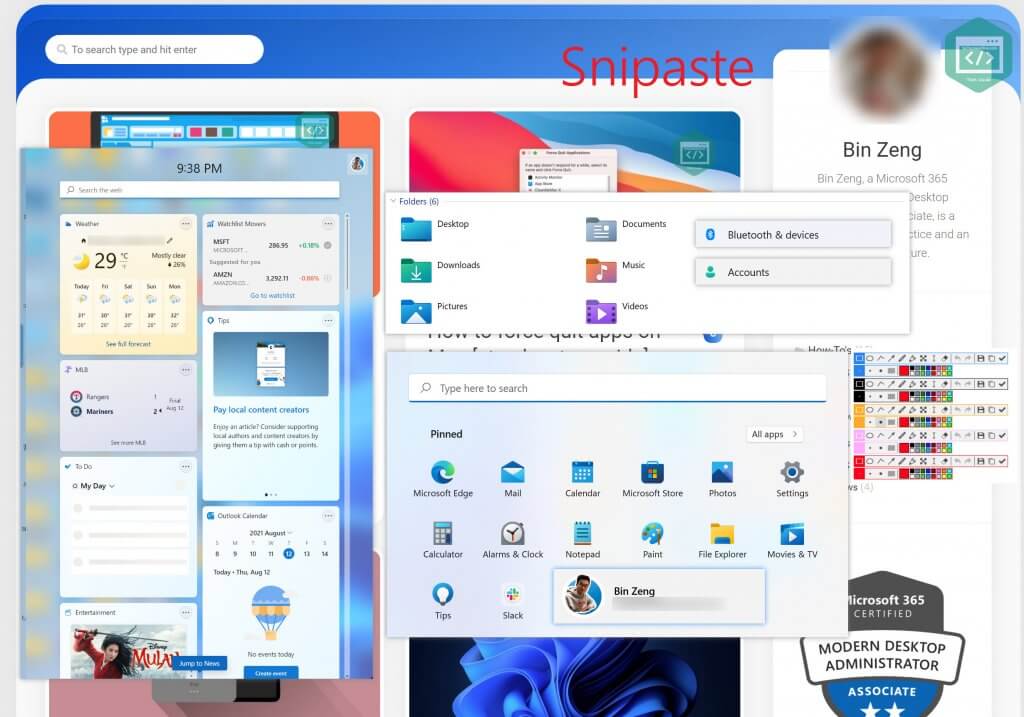
Snipaste is easy to use. It can detect UI elements automatically, and gives you pixel-level control when snipping. If you want to boost your efficiency, you can refer to the manual to discover more hidden features.
Use Snagit to take screenshot
If you’re a professional content creator, Snagit may be the best screen capture and recording software to help you make step-by-step instructions.
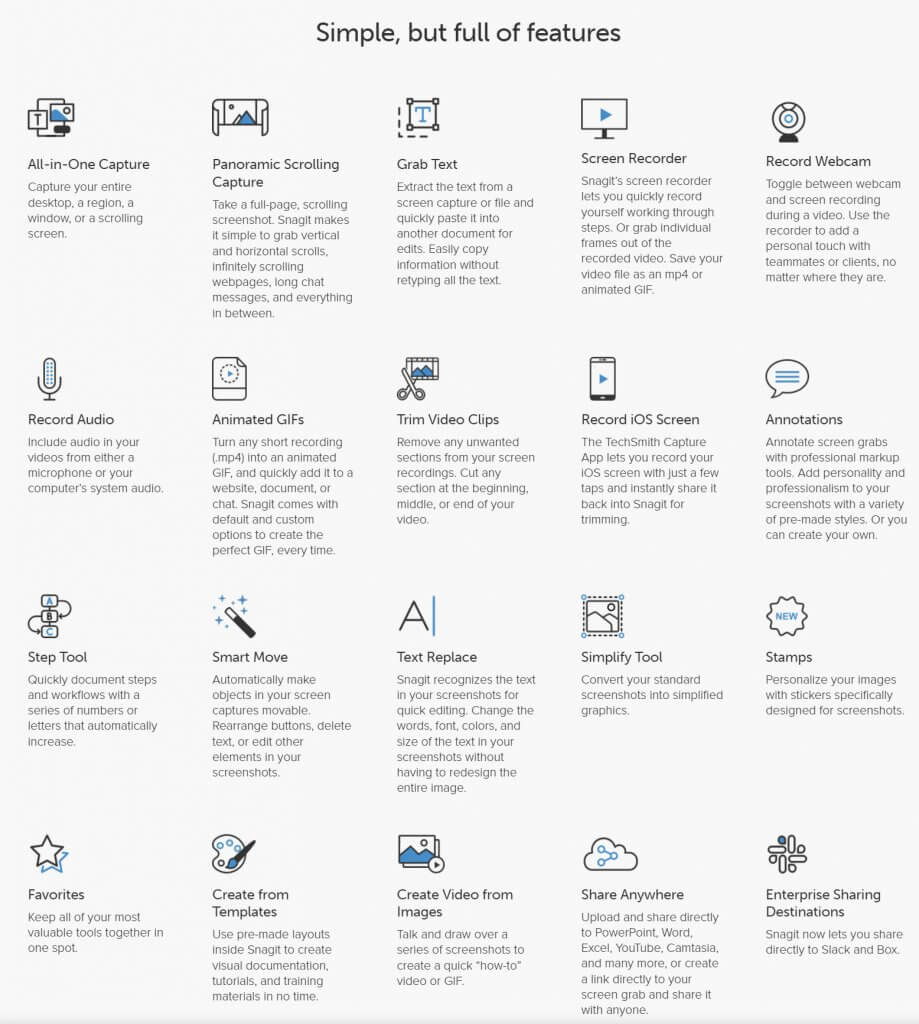
With Snagit, you can easily use images, videos and GIFs to share idea, give feedback and communicate more efficiently.
That’s it! Hopefully, after reading this article, you’ve learned how to take screenshots on Windows 11. If you have any questions or suggestions, feel free to drop a line in the comment area below. Thanks for reading!
One response to “How to take screenshots on Windows 11”
[…] How to take screenshots on Windows 11 […]