Microsoft has released the preview of the emulator for Windows 10X, the new edition of Windows 10 designed for dual-screen and foldable devices. According to Microsoft, Windows 10X will be available on dual-screen and foldable devices starting in the fall of 2020, in time for the holiday season.
The good news is no matter if you’re a developer or not, you can download Windows 10X Emulator from Microsoft Store to get a sneak peek at the new UI design and features that Microsoft has been building for Windows 10X!
This article gives you a walkthrough guide on how to install Windows 10X Emulator on your Windows 10 PC. After reading it, you’ll learn how to do it on your own.
Windows 10X Emulator requirements
Before downloading Windows 10 emulator, you need to check if your PC meets all the requirements to install and use Windows 10X image:
Software requirements
- Windows 10 Pro, Enterprise, or Education (x64) build or later from the Windows Insider Program.
- Hyper-V with GPU-PV for hardware-accelerated tasks.
Hardware requirements
- CPU: Intel processor with at least 4 cores with virtualization support.
- RAM: 8 GB or more.
- Storage: 15 GB to 20 GB or more (SSD recommended)
- Graphics: Discrete video card with support for DirectX 11 and WDDM 2.4 graphics.
Please note that currently the emulator is supported on Intel processors only. If your PC has an AMD processor, I’m sorry to say AMD NO.
In addition to virtualization support, you should ensure that the motherboard’s BIOS or UEFI has enabled Second Level Address Translation, hardware-assisted virtualization and Hardware-based Data Execution Prevention (DEP).
If your device meets the requirements, read on and follow the instructions below to start installing Windows 10X Emulation.
To install Windows 10X Emulator on Windows 10
Step 1: Install the latest Windows 10 preview build from the Fast ring
Important: It’s recommended to install the latest Windows 10 preview build on a spare computer, because there might be bugs in Windows 10 preview build. If you don’t have a spare computer, you should create a full backup before proceeding.
Windows 10X Emulator is available in Windows 10 Insider Preview build only, so if your PC is not running on Windows 10 Insider Preview build, you should install it first.
You can follow the instructions below to install the latest Windows 10 preview build:
- On your keyboard, press the Windows logo key and I at the same time to open the Windows 10 Settings. Then click Update & Security.

- Click Windows Insider Program, then click Get started.

- Click Link an account, then select your Microsoft account from the list.


- Select Fast option when you’re asked to pick your Insider settings, then click Confirm.

- Click Confirm again.

- Click Restart to restart Windows 10.

- After you reboot your computer, open Windows Settings and click Update & Security, then click Check for updates. Normally you’ll receive the latest Windows 10 Insider Preview build.
It may take some time to download the Windows 10 Insider Preview build, which depends on the download speed of your network. - Click Restart now to start installing the latest Windows 10 Insider Preview build.

It may take some time to complete the installation process.
Step 2: Enable Hyper-V support
Once the installation process completed, follow the instructions below to enable Hyper-V support:
- On your keyboard, press the Windows logo key and R at the same time to invoke the Run dialog, type optional features and press Enter to open the Windows Features window.

- Check the box next to Hyper-V, then click OK.

- Click Restart now to restart your computer.

The Hyper-V feature will be enabled after you restart your computer.
Step 3: Install Microsoft Emulator and Windows 10X Emulator Image
To install Microsoft Emulator and Windows 10X Emulator Image, follow the steps below:
- Open Microsoft Store and search for Microsoft Emulator. Click Microsoft Emulator from the search results to open the download page.

- Click Get to start downloading. Microsoft Store will automatically install it on your computer.
- Search for Windows 10X Emulator Image in Microsoft Store.
- Select the first result (normally it would be the latest version) from the search results.
- Click Get to start downloading. The image file is about 4.5 GB, so it may take some time to complete the download process.

- Click Install on my device when the download process completed.

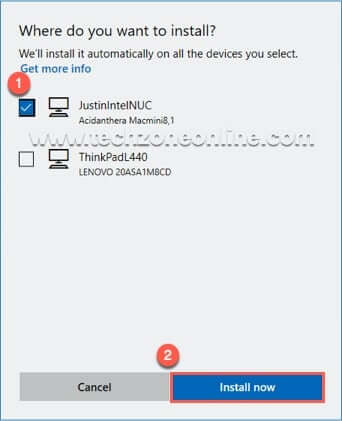
- Select the device where you’d like to install Windows 10X Emulator Image. Then click Install now.
- Click OK.

After you complete the steps above, the Windows 10 Emulator Image has been installed on your selected device.
Step 4: Start Windows 10X Emulator
Now you can follow the instructions below to start Windows 10X emulator:
- Press the Windows logo key on your keyboard, then type Microsoft Emulator.Click Microsoft Emulator from the search results to launch it.

- The default memory for Windows 10X Emulator is 4 GB. If you need to modify it, you can click Edit… to customize the memory you’d like to assigned to Windows 10X Emulator. Click Save to close the Edit Emulator Device window.


- Click Start… to start Windows 10X Emulator.

- Click Accept to accept the license agreement.

- If Windows tells you that you don’t have permission to run the emulator, click Retry to run it as administrator. Wait several minutes and Windows 10X Emulator will start.

Windows 10X first look: dual-screen UI basics
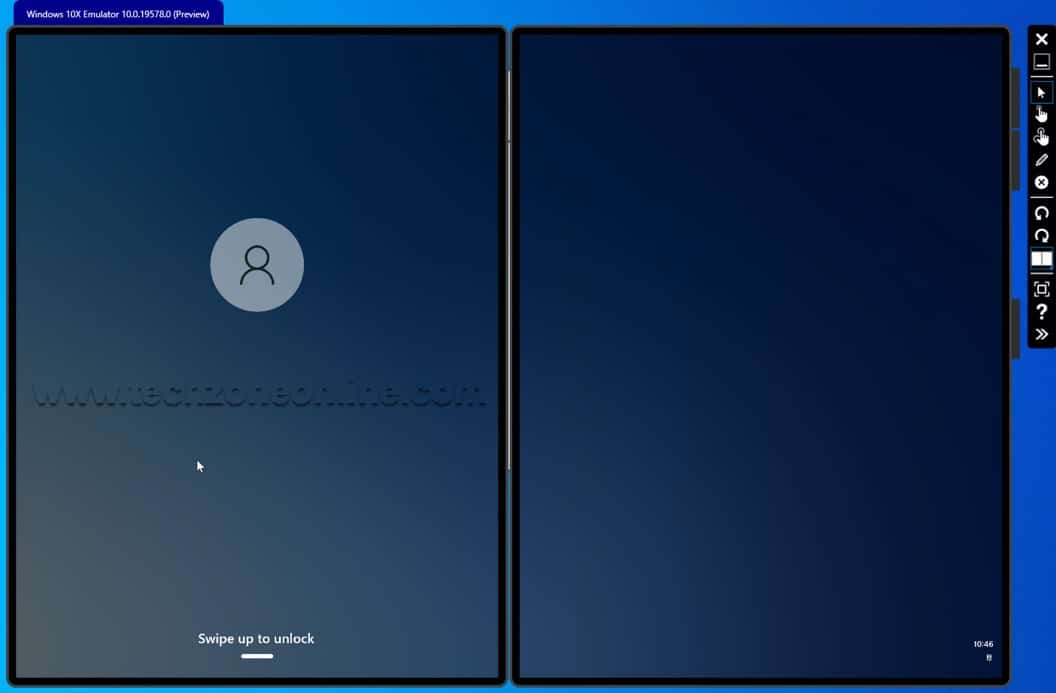
Windows 10X lock screen:
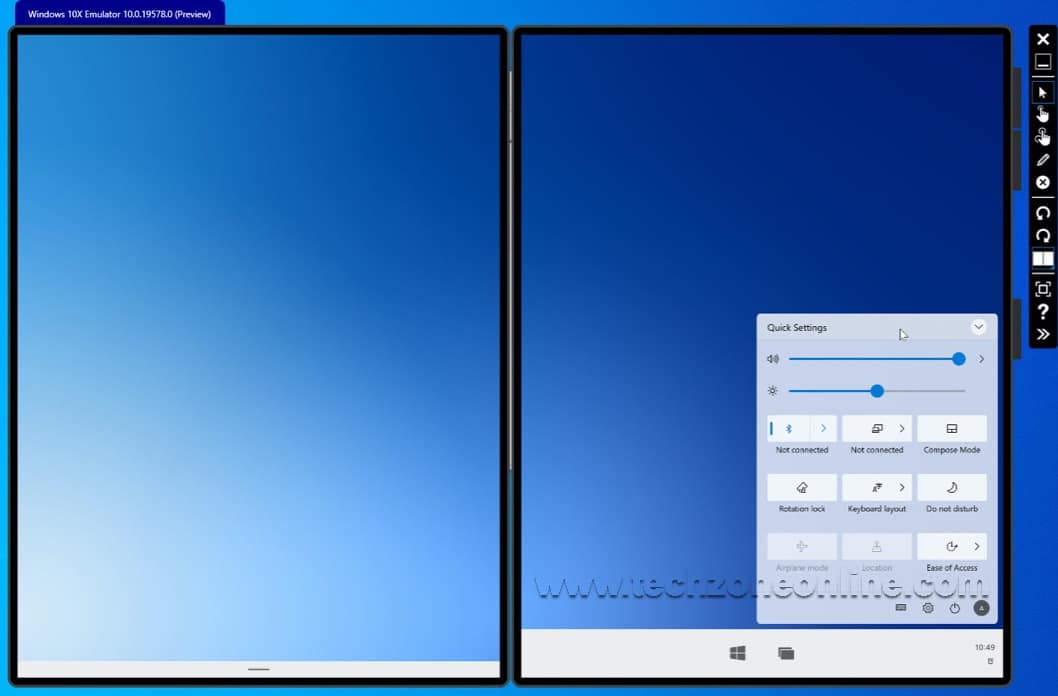
Windows 10X Quick Settings:
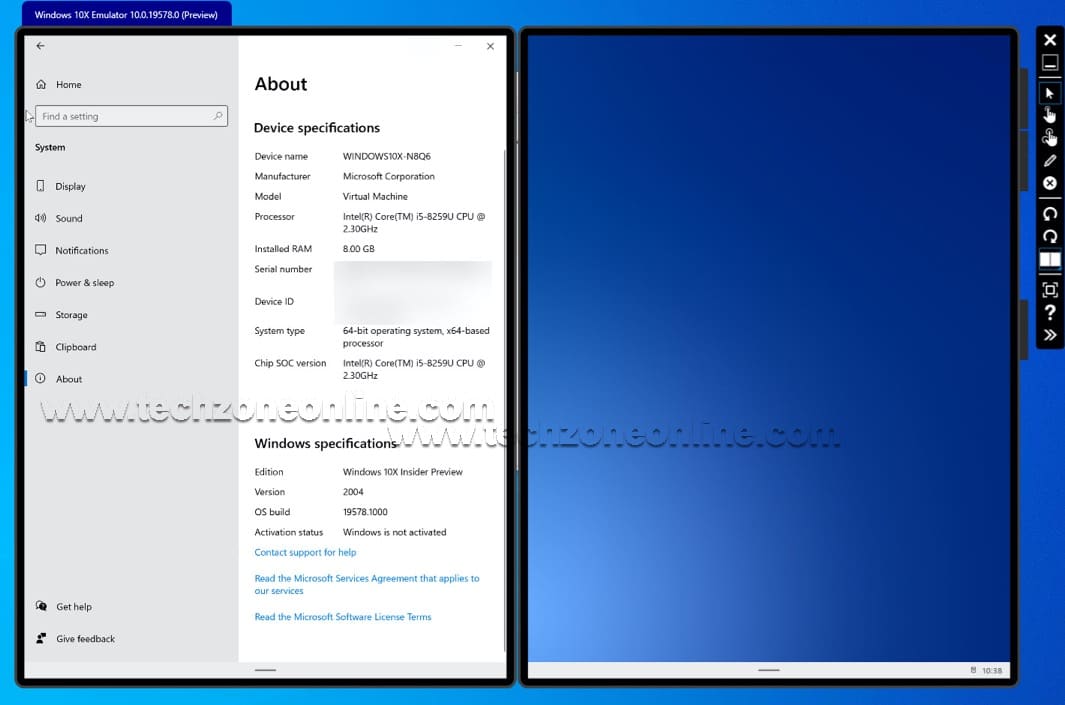
Windows 10X About page in Windows Settings:
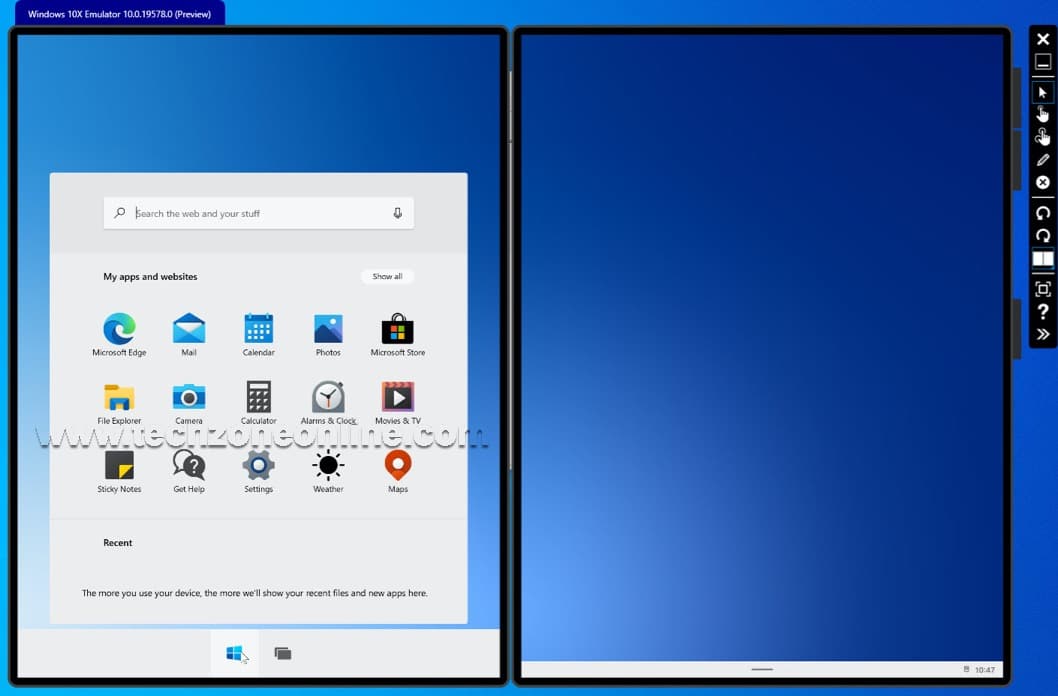
Windows 10X apps grid after you click the Windows logo icon (the Start button):
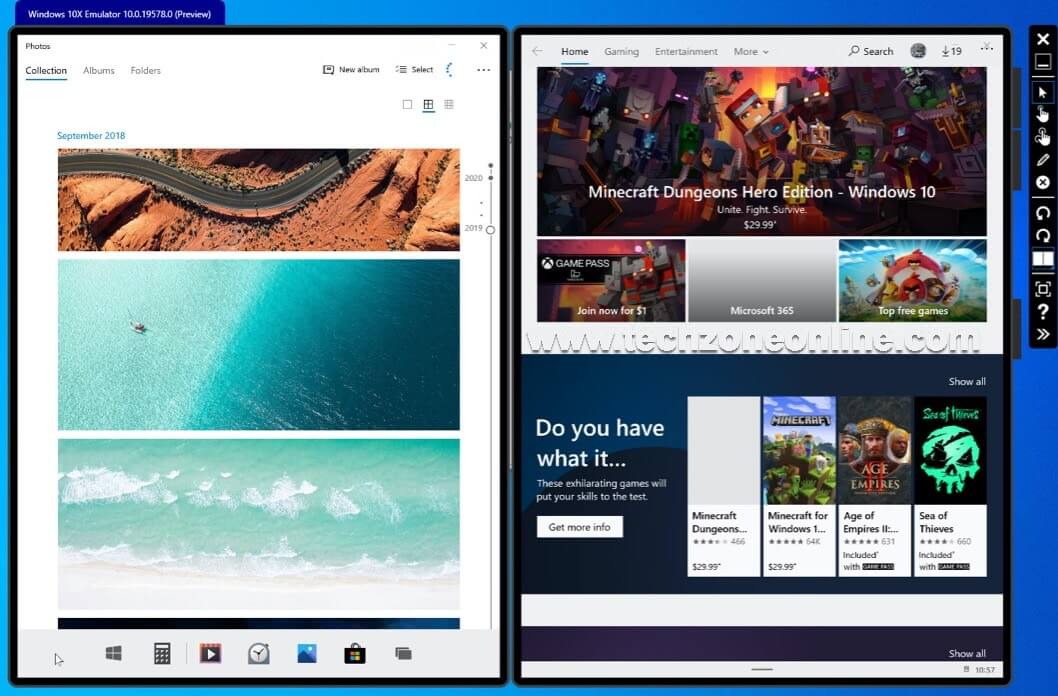
Photos app and Microsoft Store app in Windows 10X:
Now it’s time to discover and enjoy it. Thanks for reading!
2 responses to “How to install Windows 10X emulator | Quickly & Easily”
Vielen Dank für die gemeinsame Nutzung. Evanne Corbin Fokos
[…] new Windows 11 UI and Start menu is very similar to those of Windows 10X. As you can see, the live tiles in Windows 10 are removed in Windows […]