Chrome OS Flex is finally here! As Google’s latest cloud-first operating system for PCs and Macs, Chrome OS Flex is secure, responsive, less demanding on hardware and easy to deploy and manage, giving us a free and sustainable way to modernize our old devices.
If you’re interested in Chrome OS Flex, you’ve come to the right place! This article provides a detailed tutorial on how to create a bootable USB for Chrome OS Flex.
According to the Chrome OS Flex official site, Chrome OS Flex supports running on PCs and Macs that meet the hardware requirements, and Google will provide free system update services.
Minimum device requirements for Chrome OS Flex
According to the official documentation provided by Google , the minimum hardware requirements to run Chrome OS Flex are as follows:
- Architecture: Intel or AMD x86-64-bit compatible device
- RAM: 4 GB
- Internal storage: 16 GB
- Bootable from USB drive
- BIOS: Full administrator access. You’ll need to boot from the Chrome OS Flex USB installer and make some adjustments in the BIOS if you run into issues.
- Processor and graphics: Components made before 2010 might result in a poor experience.
Note: Intel GMA 500, 600, 3600, and 3650 graphics hardware do not meet Chrome OS Flex performance standards.
Google regularly tests, maintains, and certifies Chrome OS Flex features and functionality on many individual models. While Chrome OS Flex might work on non-certified devices, Google does not guarantee performance, functionality, or stability.
Start creating the bootable USB for Chrome OS Flex
Making the bootable USB for Chrome OS Flex is quite easy, which can be done in minutes if your network is in good condition.
Step 1: Create the USB installer
To create the USB installer for Chrome Flex OS, you’ll need a USB drive (8 GB or more) and a computer with internet access. Since Chrome OS Flex is still in beta, Google does not recommend deploying Chrome OS Flex directly to a computer’s hard drive.
To create the USB installer for Chrome Flex OS:
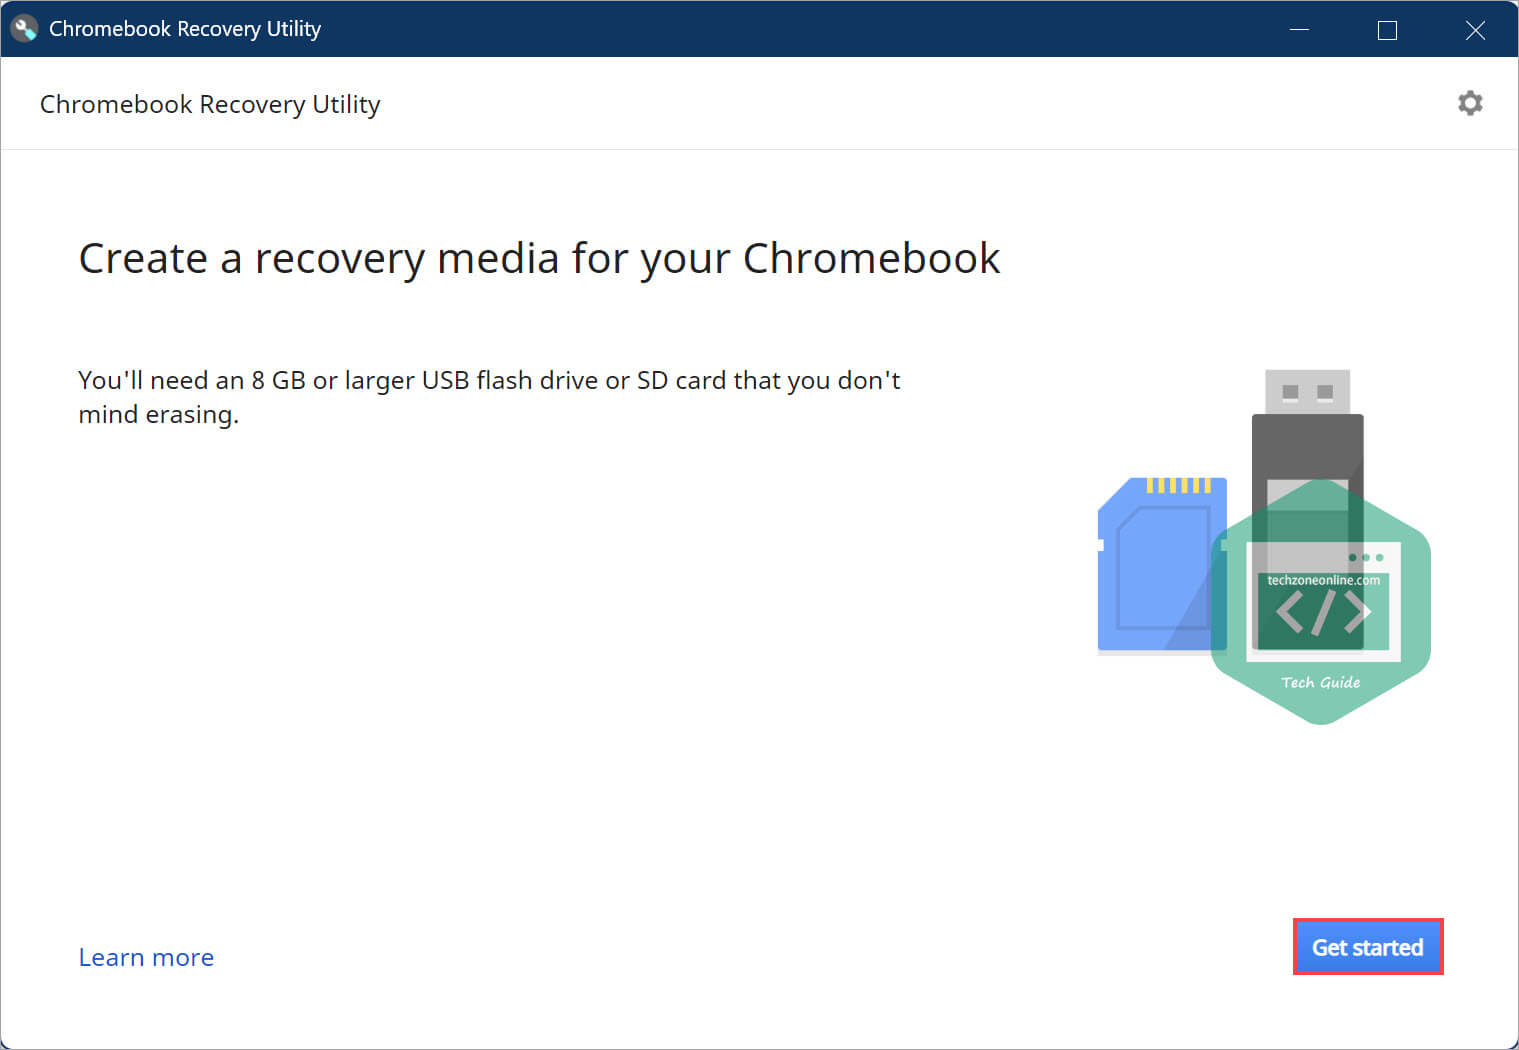
- Launch Google Chrome browser and go to the Chrome Web Store to add Chromebook Recovery Utility to Chrome.
- Once done, launch Chromebook Recovery Utility from Chrome.
- Click Get started to continue.
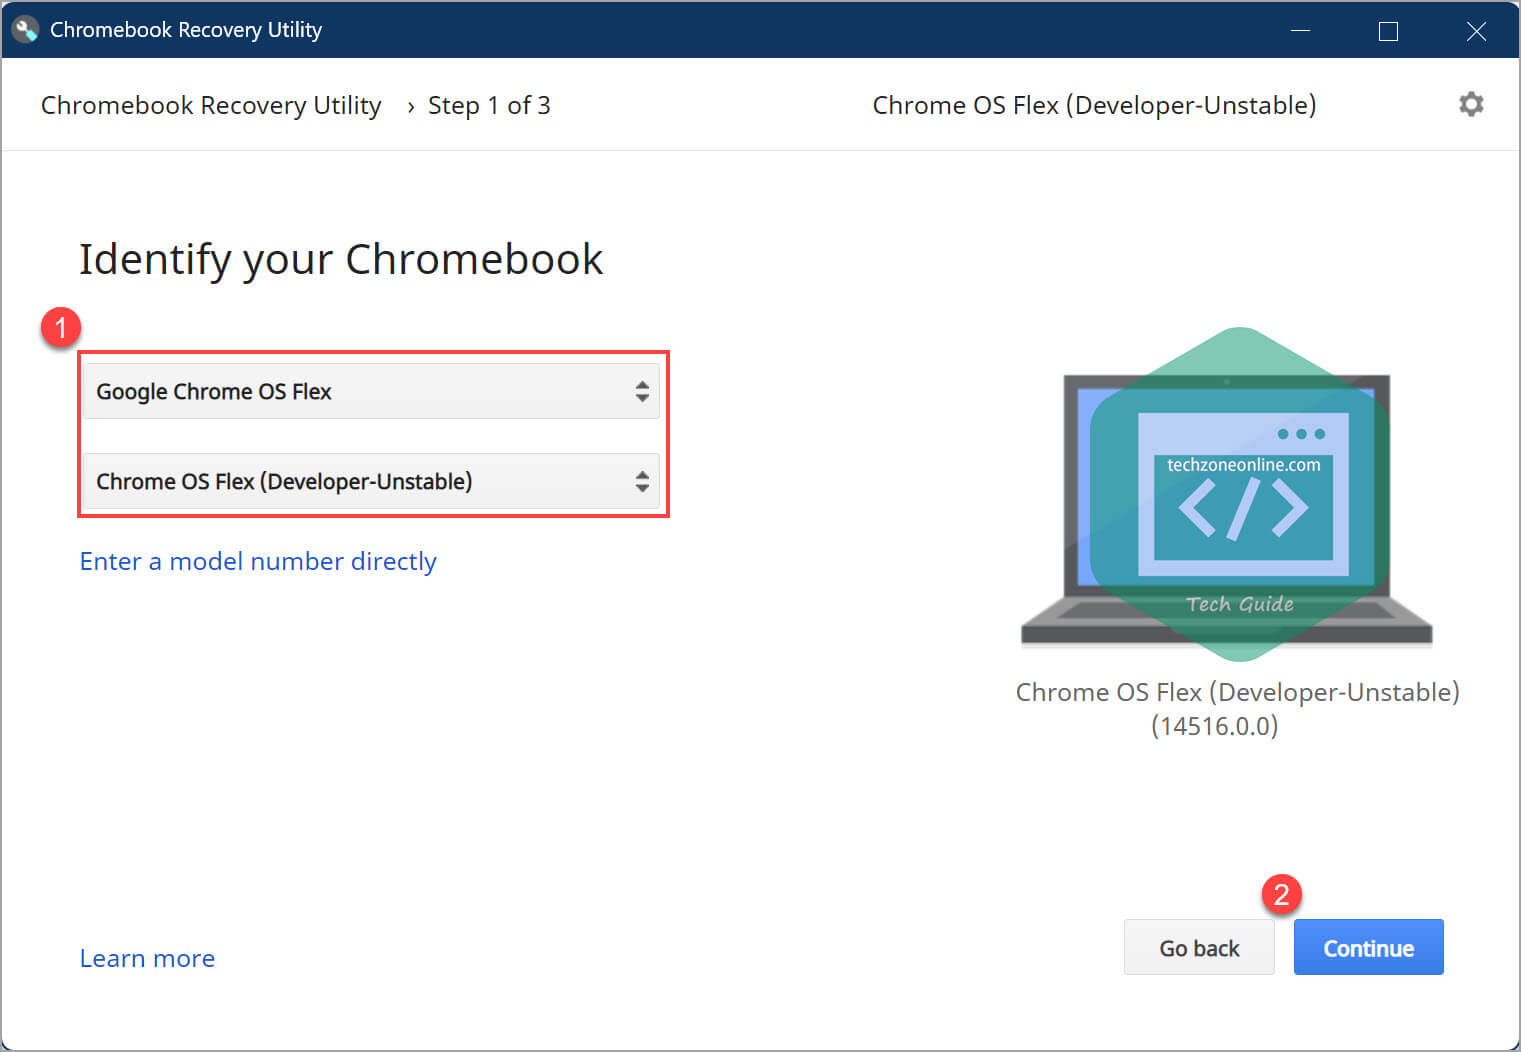
- On the Identify your Chromebook screen, click select a model from a list to select Google Chrome OS Flex and Chrome OS Flex (Developer-Unstable), then click Continue.
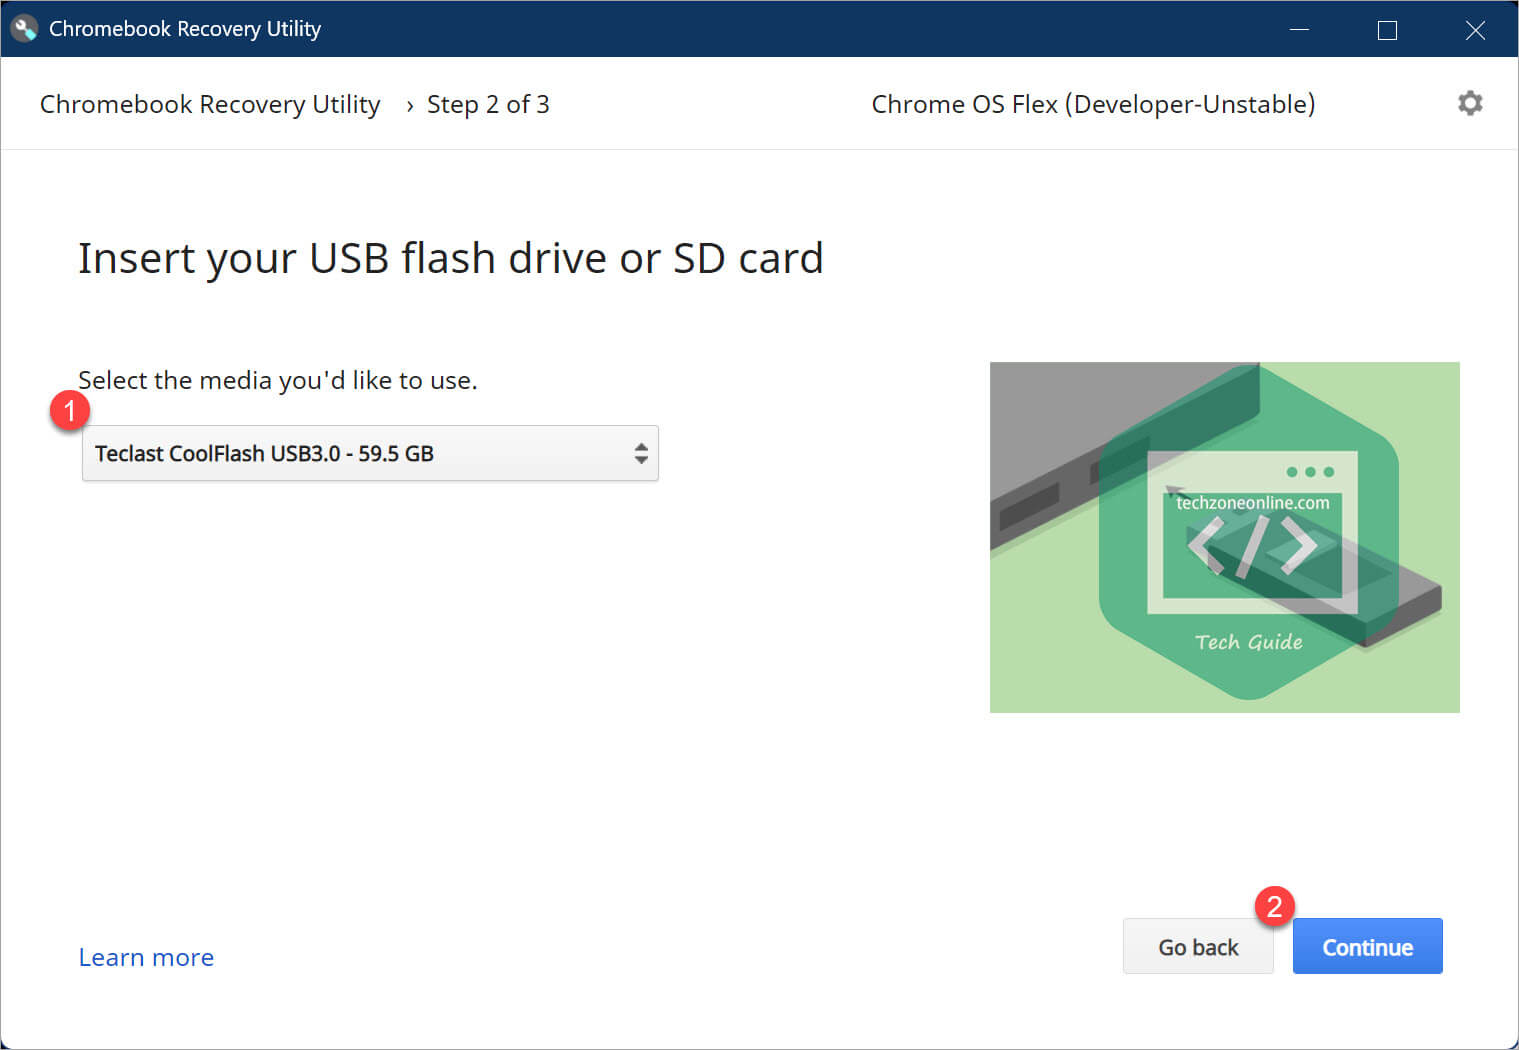
- Insert your USB flash drive into your computer. Select it and click Continue.
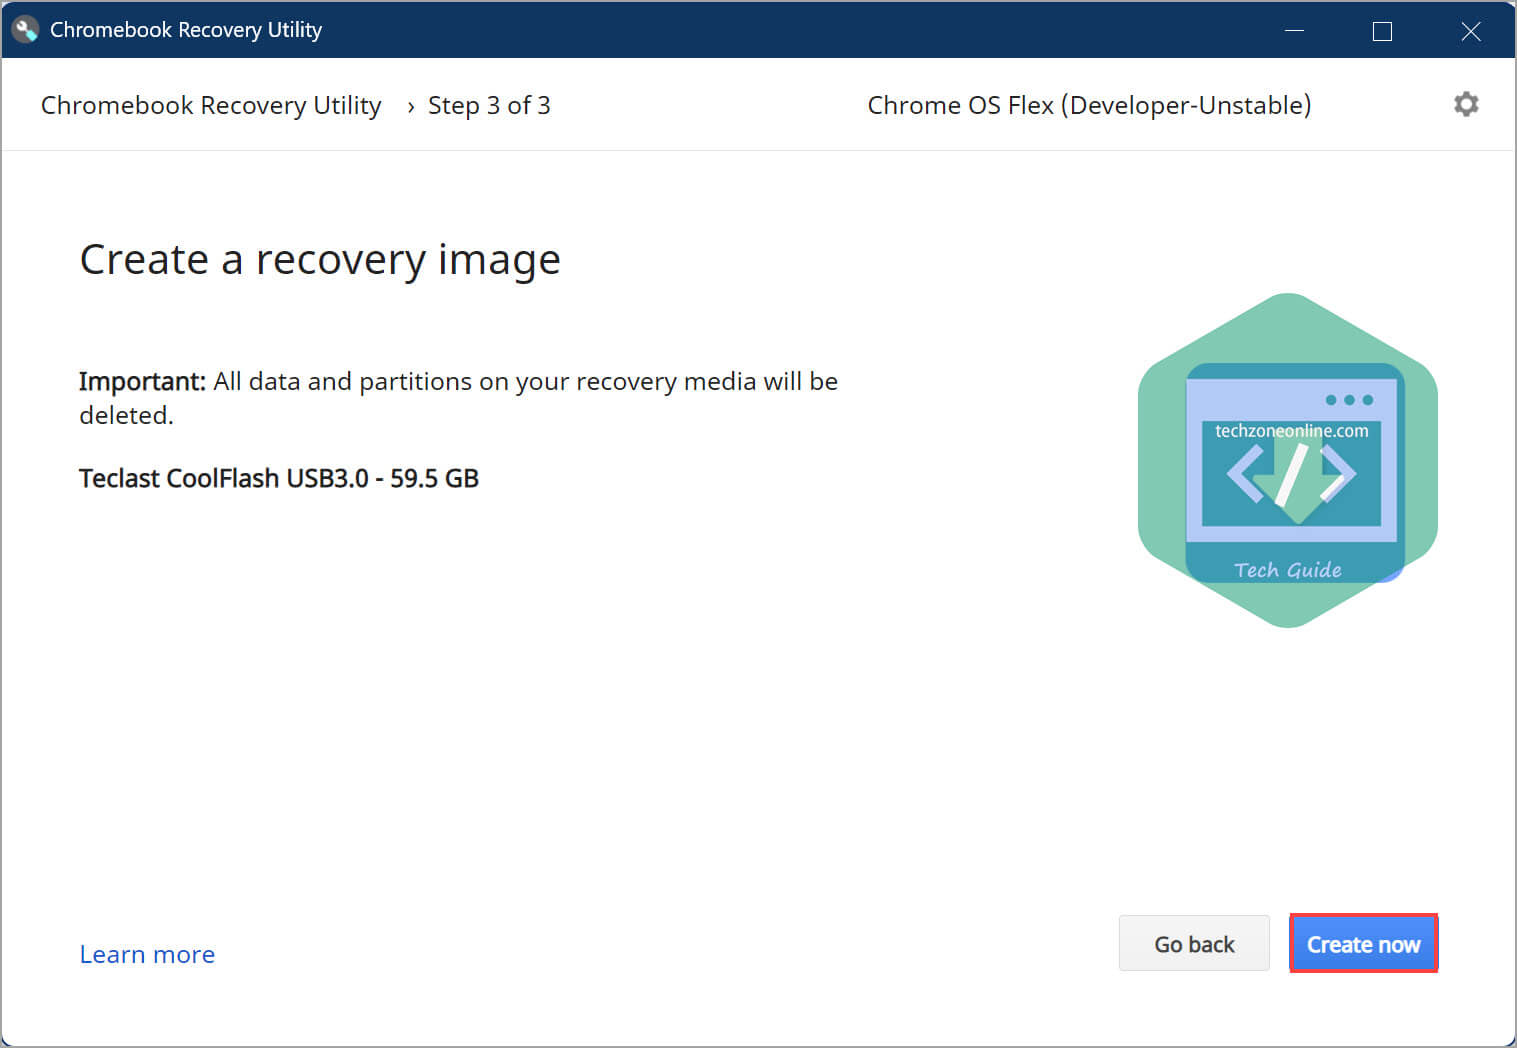
- Click Create now to create a recovery image.
Important: All data and partitions on your recovery media will be deleted.
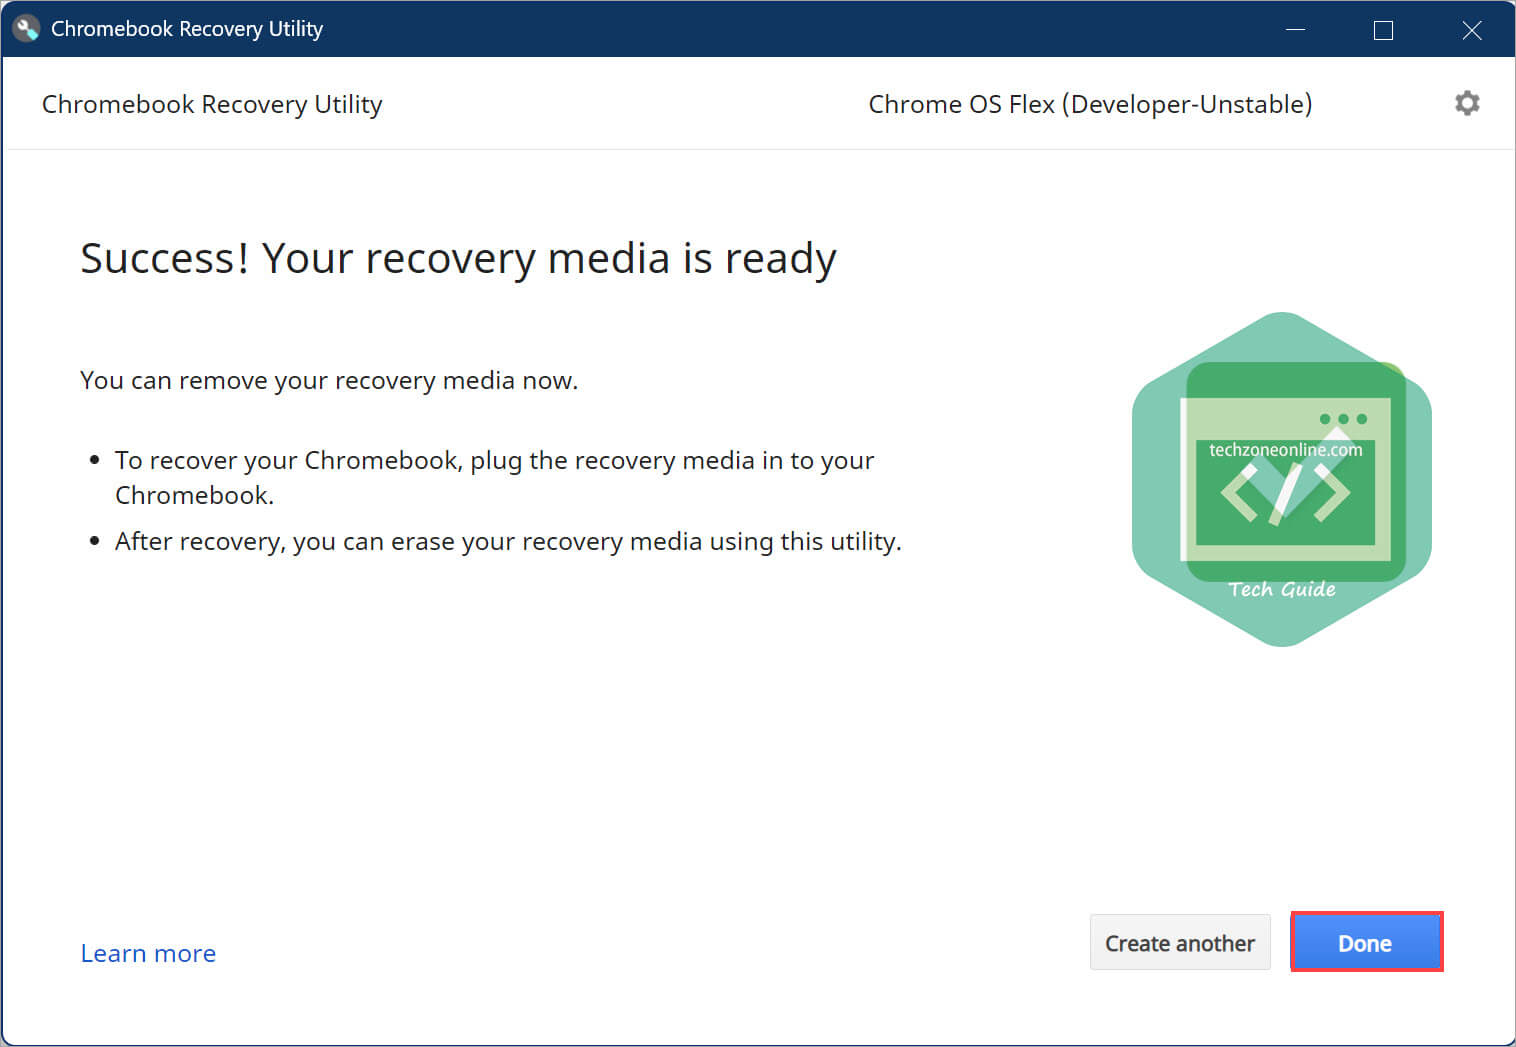
It may take same time to download and create the recovery image. Wait a few minutes, then click Yes if you’re prompted with the following UAC window. - Click Done when your recovery media is ready. Then remove your recovery media from your computer.
Step 2: Boot Chrome OS Flex from your recovery media
Insert your recovery media into the computer where Chrome OS Flex will be installed, then follow the instructions below to boot Chrome OS Flex from the recovery media:
- Shut down the computer where Chrome OS Flex will be installed after you inserted the recovery media.
- Press the computer power button to turn it back on. Then press the boot key (e.g. the
F10key) repeatedly on your computer to enter the boot menu screen. If you’re unsure which key to use, see Boot keys. - Use the
Arrowkey to select the USB drive, then press theEnterkey to boot it from the USB drive. - You’ll see the icon of Google Chrome on your screen. Wait a few seconds and you’ll see the welcome screen. Click Get started to continue.
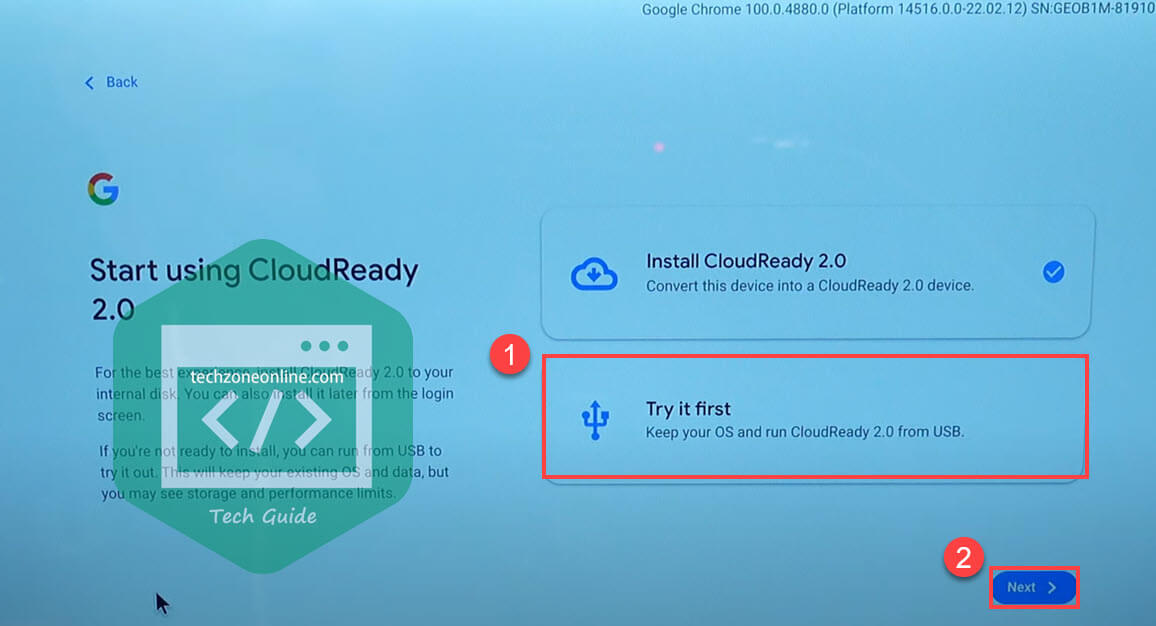
- Since Chrome OS Flex is still in early beta, Google does not recommend installing Chrome OS Flex directly to the local hard drive. Choose Try it first here, so that we can experience Chrome OS Flex by booting from your USB stick. Click Next to continue.
- Follow the on-screen instructions and click the lower right button to complete the following operations:
– Access to the Internet (connect to the Internet cable or connect to Wi-Fi)
– Agree to the Google Terms of Service
– Sync Chrome device apps, settings, and more
– Accept CloudReady 2.0 hardware data collection
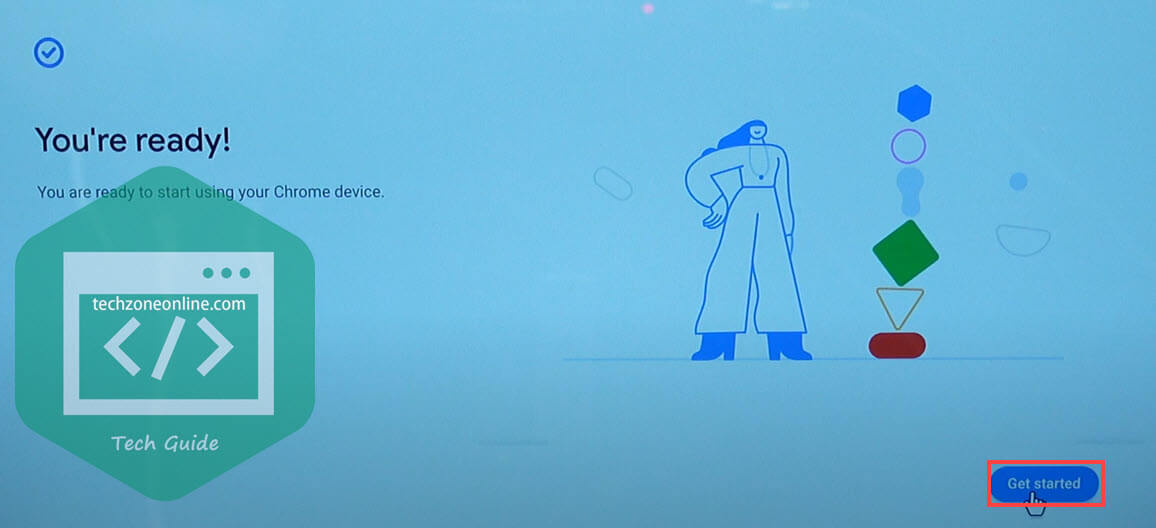
– Connect to your phone - Click Get started after you’re ready to start using your Chrome device.
That’s it! Now it’s time to experience Chrome OS Flex.
Chrome OS Flex at a glance
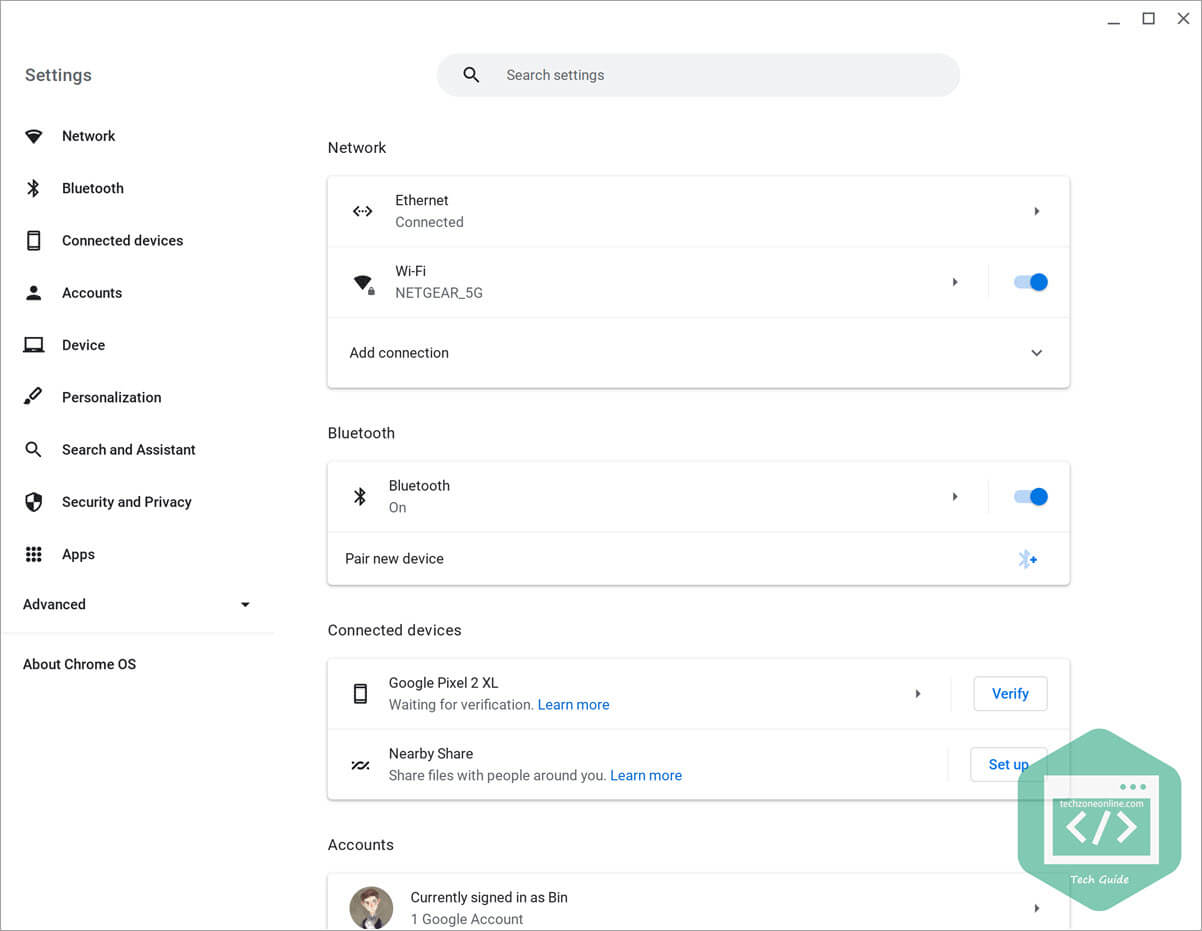
Chrome OS Flex is lightweight and it can be running smoothly on old devices that meet its device requirements. The system UI is simple and refreshing:
Settings
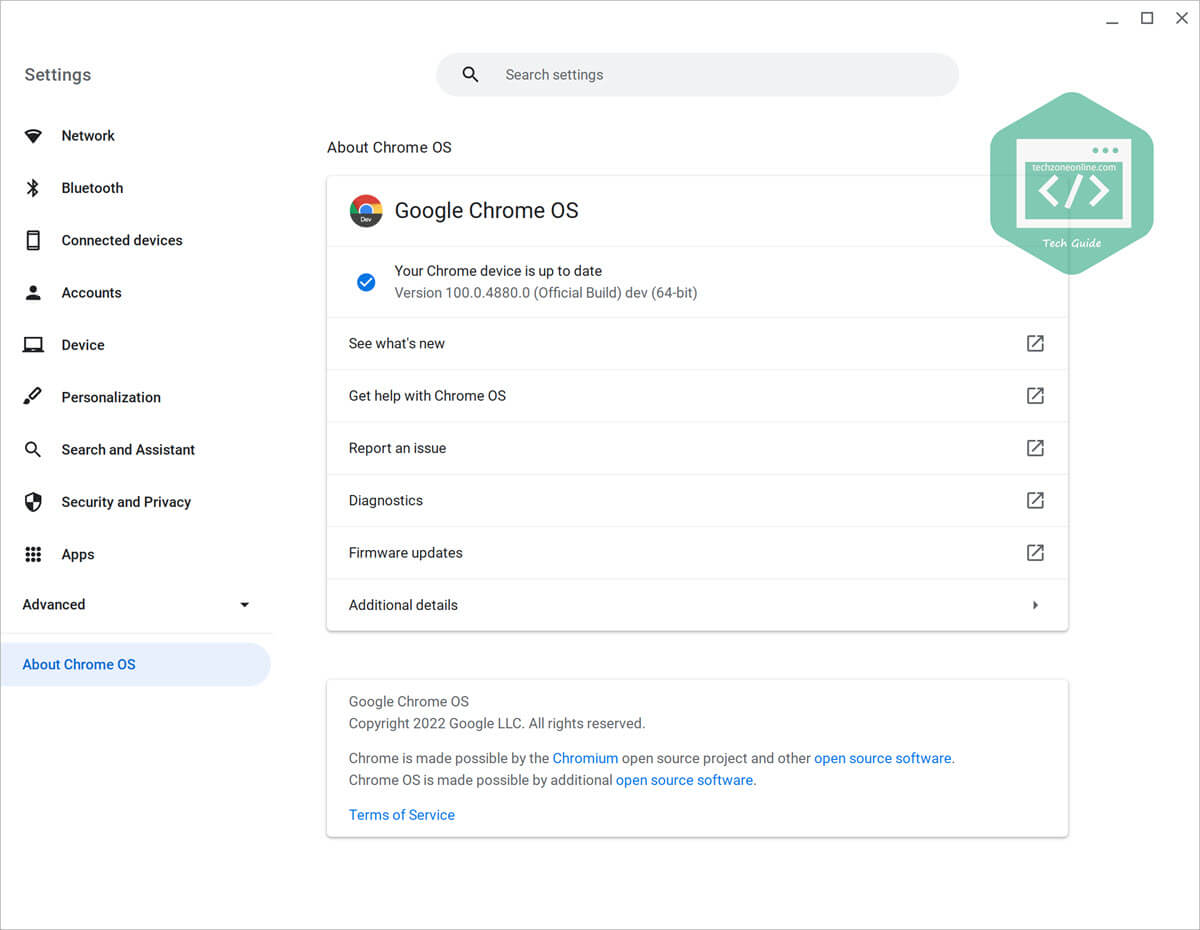
About Chrome OS page
Settings > Devices > Displays
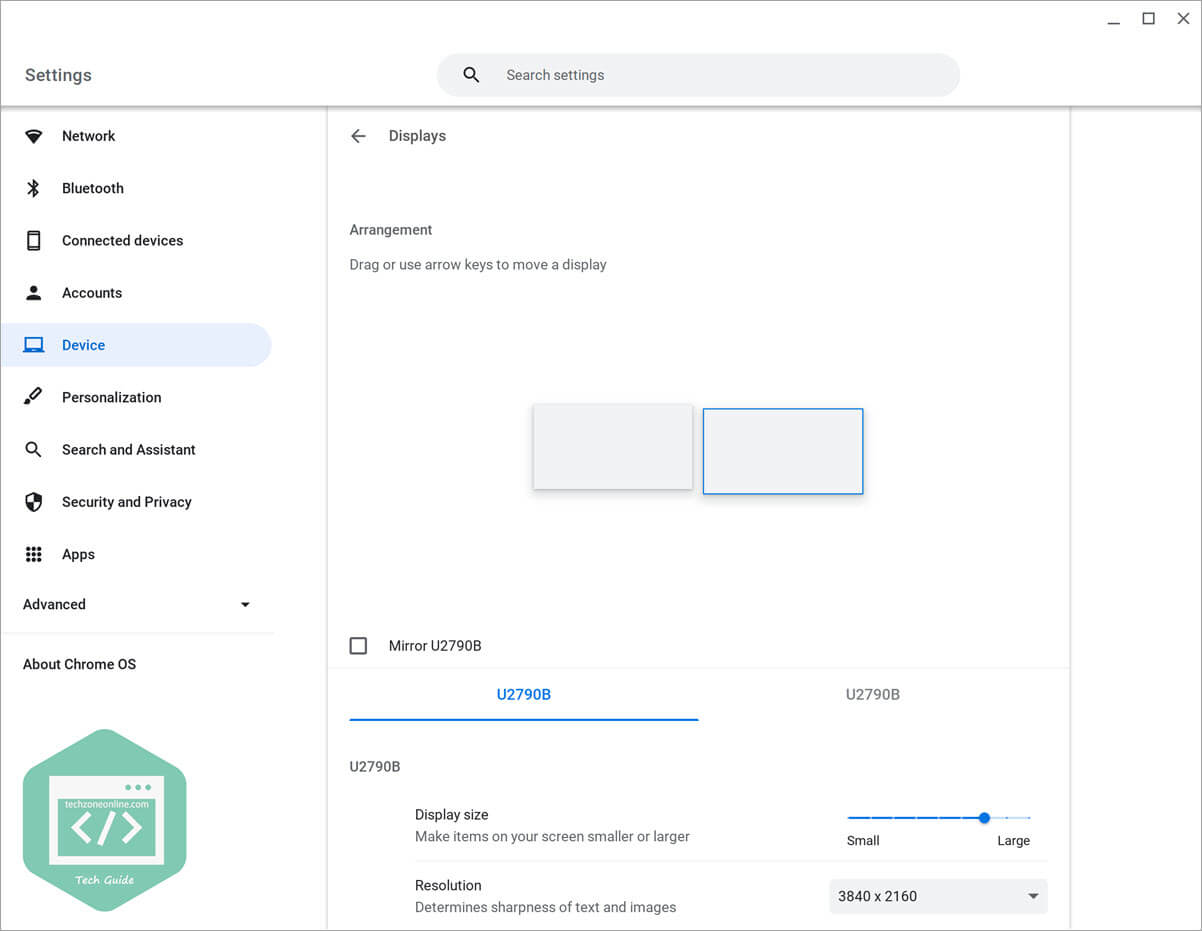
Note: Chrome OS Flex does not optimize the display for 4K screens on the installation wizard page; if you are using a 4K screen, it is recommended to go to Settings > Devices > Displays and set the Display size ratio to 180% or 200% to make items on your screen larger.
Chrome OS Flex desktop


App screen

Control center

Webpage shortcuts

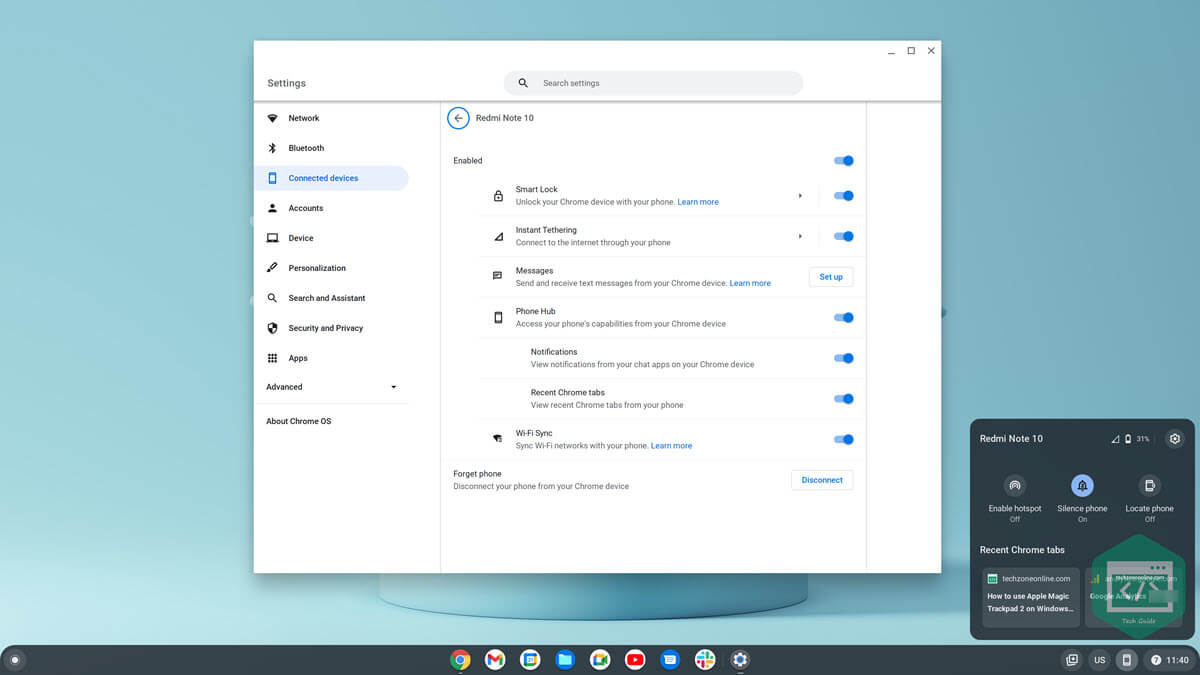
Connect to your phone
Conclusion
Chrome OS Flex is the free version of Chrome OS for PCs and Macs. Cloud-first, secure, lightweight, responsive, and easy to manage are the key features of Chrome OS Flex. Compared with Windows and macOS, Chrome OS Flex does not require high hardware configuration, and it’s easy to install and deploy. Besides, Chrome OS Flex offers a good solution to reduce e-waste and extend the life of your existing devices.
However, Chrome OS Flex does not support running Android apps or Google Play, which limits its functionality, as the users will not be able to install or sideload any Android apps on devices running on Chrome OS Flex. In addition, Chrome OS Flex doesn’t support running Windows virtual machines.
Any thoughts? Feel free to drop a line in the comment area below if you have some questions or thoughts on this topic!


