Flushing your DNS cache is an efficient way to troubleshoot DNS and connectivity issues, as well as keeping the local record of domain name server information more secure. In this blog, you’ll learn what DNS cache is, how DNS cache works, why you should flush DNS, and most importantly, how to flush DNS on your Mac.
TOC
How to flush DNS on your Mac
To flush DNS on your Mac, you’ll need to enter a Terminal command on your Mac. Here’s how to do it:
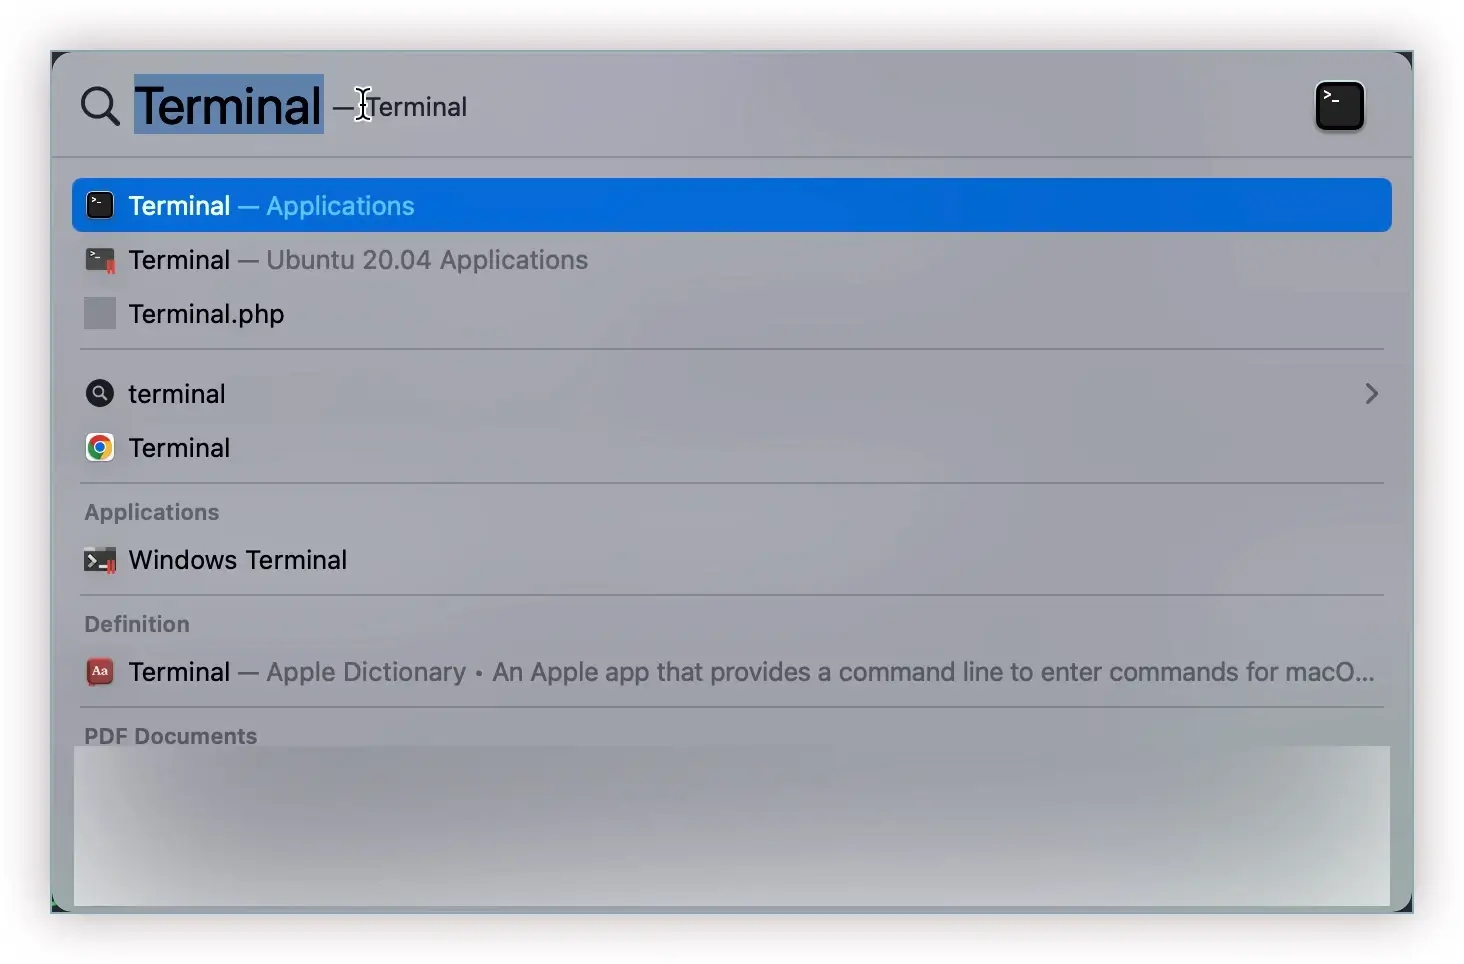
- On your keyboard, press Command and Space to invoke Spotlight.
- Type terminal and press Enter to launch the Terminal app.

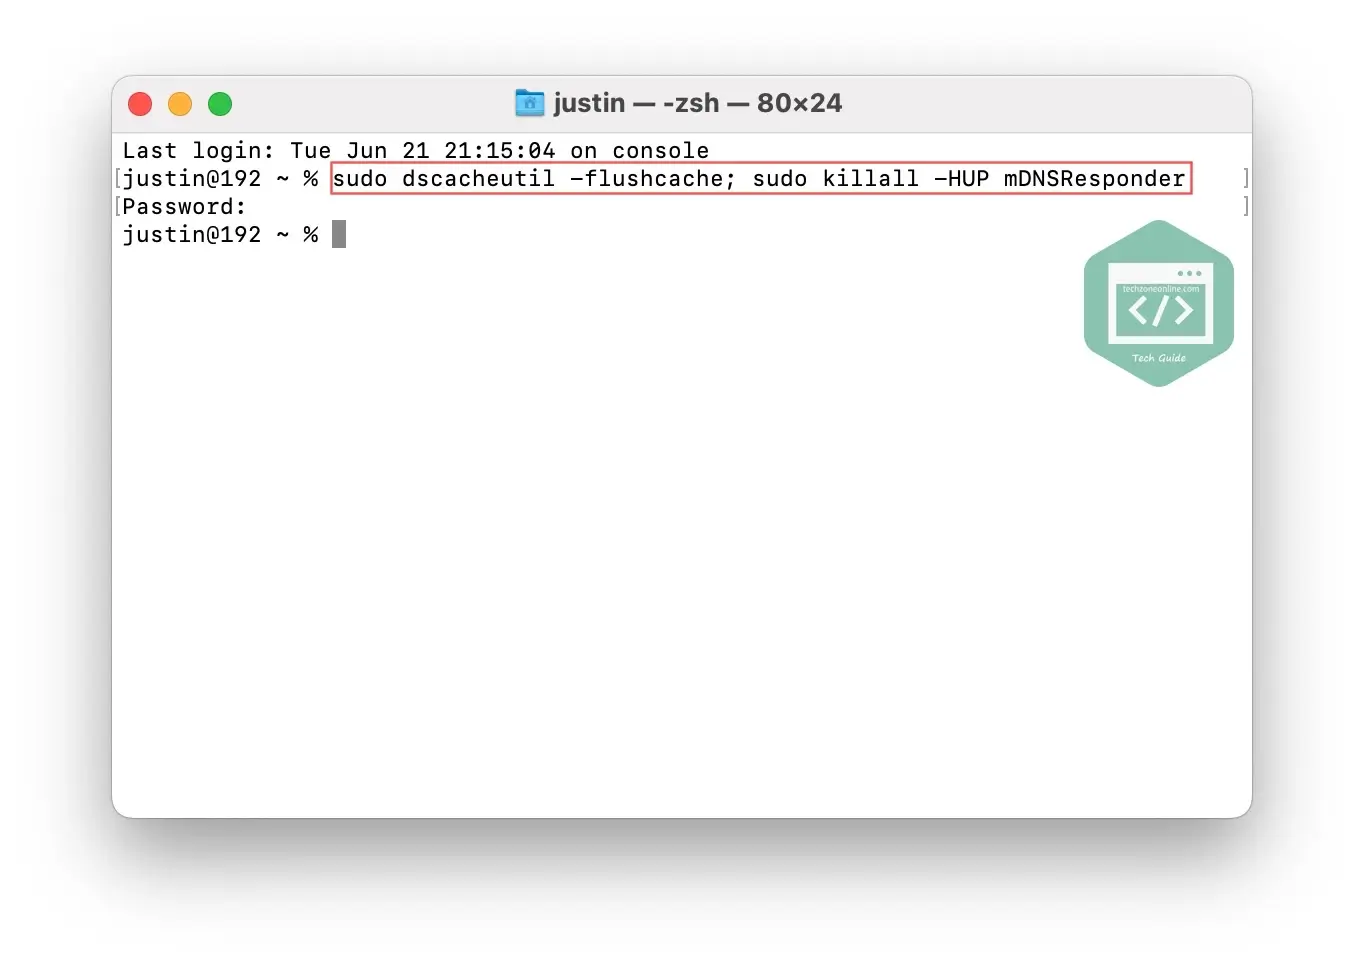
- Copy and paste the following command into the Terminal window, then press Enter.
sudo dscacheutil -flushcache; sudo killall -HUP mDNSResponder
Note: this command only works on macOS EI Capitan and newer. If you’re using an older versions of macOS, check the next section for the correct command. - You’ll be asked to enter your Mac’s login password to run the command. Just enter the password and press enter again. Please note that due to security reasons, the password will not be displayed when you’re typing. There’s no notification when the process completes.

Note: if you’d like to hear an audio notification after the NDS flush process completed, run the following command instead:
sudo dscacheutil -flushcache; sudo killall -HUP mDNSResponder; say dns cleared successfully
Flush DNS commands on older macOS versions
The table below lists the correct commands for resetting DNS cache on older macOS versions:
| macOS version | Terminal command |
|---|---|
| macOS EI Capitan and newer | sudo dscacheutil -flushcache; sudo killall -HUP mDNSResponder |
| Yosemite | sudo killall -HUP mDNSResponder |
| Lion, Mountain Lion, and Mavericks | sudo dscacheutil –flushcache |
| Snow Leopard | sudo lookupd –flushcache |
| Tiger | lookupd –flushcache |
What is DNS cache and how it works
DNS, or the domain name system, is the phonebook of the Internet. It translates human readable domain names (e.g. techzoneonline.com) to machine readable IP addresses (e.g. 123.456.789.1), connecting web browsers with websites and allowing browsers to get to websites and other Internet resources. Without the DNS, we’ll not be able to visit a website by its domain name. We have to manually enter the IP address of its web hosting.
The DNS cache on your Mac is a temporary database that stores information about previous DNS lookups. It’s like a phonebook at your hand.
Anytime you enter a URL into your web browser, or click the hyperlink on a webpage, a DNS lookup process is initiated. If it’s the first time you visit a website on your Mac, your Mac will connect to a DNS server that tells your web browser where to go (which IP address your browser should go) .
The DNS server maintains a directory of websites and their corresponding IP addresses. When your Mac connected to a DNS server to fetch the IP address of a website and provides it to the web browser, that information is stored on your Mac in the DNS cache.
In other words, every time you visit a website, your operating system and web browser keep a record of that domain and corresponding IP address. This eliminates the need for repeated queries to remote DNS servers and allows your OS or browser to quickly resolve a website’s URL.
Why you should flush DNS
There are several reasons to flush DNS. The most common one of which is to make sure the DNS records in your local cache is up-to-date, to resolve DNS errors when trying to visit specific sites, and to protect your Mac from NDS cache poisoning and spoofing.
Hopefully, after reading this guide, you’ve learned how to flush DNS on your Mac. Feel free to drop a line in the comment area below if you have any questions or suggestions on this topic. Thanks for reading!